I created this layout of my dad, who celebrated his 80th birthday, and wanted to create a fun layout. My dad really is a lot of fun so I thought that the October Main Kit would be perfect.
 |
| October Main Kit |
- scissors
- liquid adhesive (I used Tombow Aqua Mono Liquid Glue, but Glossy Accents will also do)
- taperunner (I use my ATG Gun)
- dimensional foam squares or pop dots
- ruler
- October Main Kit (My Creative Scrapbook)
Let's get started:
Begin with a twelve inch by twelve inch (12 X 12) sheet of white card stock.
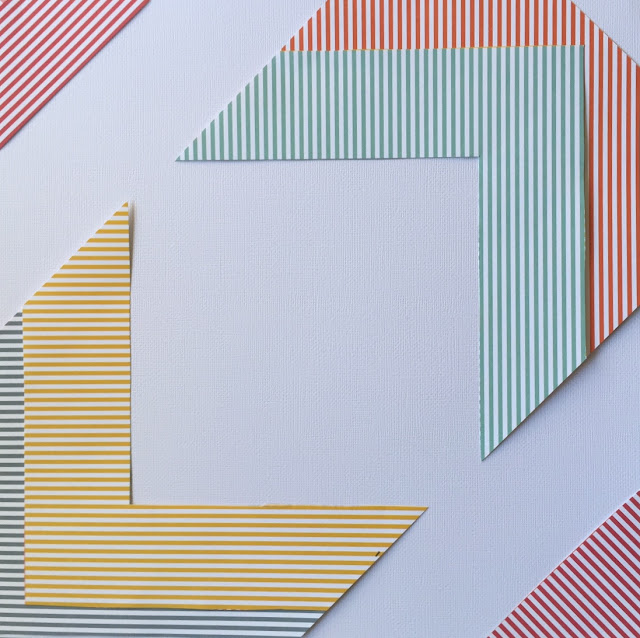
With a ruler, cut a 4 inch by 12 inch (4X12) strip of the colored chevron striped sheet and cut the different colored strips apart as shown below.
Adhere the striped colored strips to the white card stock as shown below.
Add the remaining colored strips and align the strips making sure the edges of the strips fit diagonally as shown. Adhere.
Cut a six inch by six inch (6X6) square piece of the van patterned paper and adhere it to the inside middle square of the white card stock background. Print a 4 inch by 4 inch (4X4) square photo and adhere with dimensional foam square to the middle of the van patterned paper. With scissors, cut out the "you are the best" square and the "big deal" square and adhere them to the top right hand corner and bottom left hand corner of the layout.
Cut out the "love" square and the "wild about you" square of patterned paper and adhere below the other squares as shown below.
Add the word "love" on the top left corner placing it on a diagonal slant and the word "you" to the bottom right corner as shown on a diagonal slant. Adhere.
Place the van die cut on the layout as shown below and pop it up with some dimensional foam squares.
Place the eye glasses die cut on the layout as shown and adhere.
Add the two tags and overlap the smaller tag slightly over the large tag and adhere with some dimensional foam squares.
Add the colored hearts acetate strip underneath the bottom of the photo and use liquid adhesive to adhere.
With liquid adhesive, glue the black sequins to the left side and right side of the word "love"

Also, using the liquid adhesive, glue the black sequins to the left side and right side of the word "you"
Add the pink heart diecut to the layout as shown below.
Add the cut camera die cut below the "love" square and adhere.
To give the glasses more interest and for more of a whimsical touch, I added a large green sequin and topped it with a black sequin on top to create "eyes." Again, adhere with the liquid adhesive.
Finally add the journaling with a black acid free pen below the word "you".
The layout is now completed!
I hope you enjoyed my tutorial. Thanks for stopping by and have a creative day!


No comments:
Post a Comment