Happy Sunday! Today I am sharing a Valentine's Day layout of my hubby and I on our fourteenth wedding anniversary.
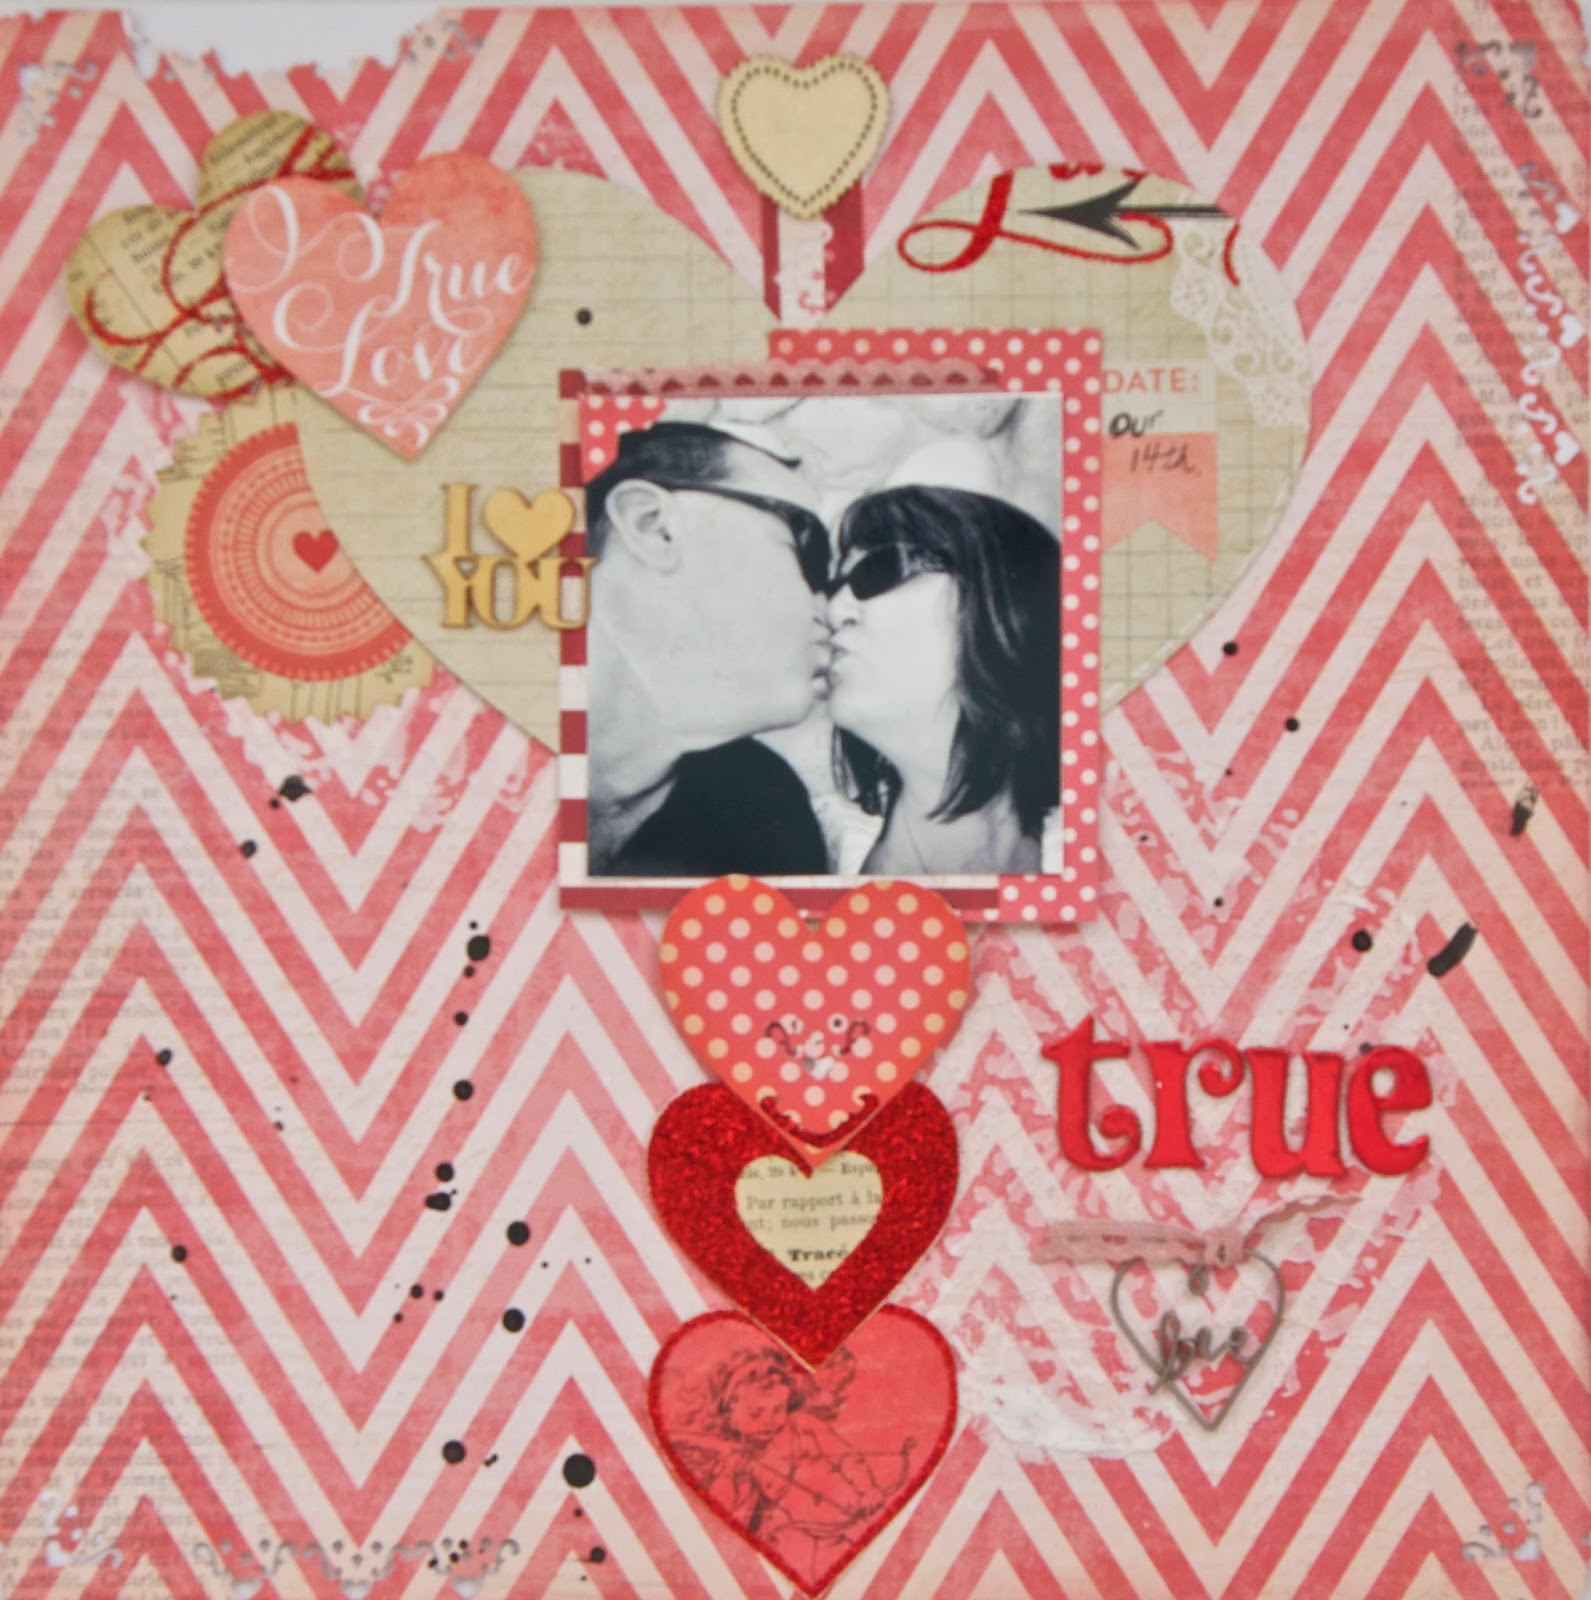
This was for design team work at Just Imagine Crafts with the amazing Kreaxions 4 In 1 Punch #905. I used it with Insert C for the hearts and chevron background paper corners and with the Insert A around the edges of the chevron background for some added texture and interest. I also added a doily stencil with some modelling paste and some wood and wire embellishments as well as My Mind's Eye Lost & Found Record It Heirloom Collection.
Thanks for looking and have a wonderful day!
Supplies
Chipboard Letters - American Crafts
Distress Ink - Tim Holtz Distress Ink (Worn Lipstick)
Mist - Heidi Swapp Colorshine Mist (Black Velvet)
Patterned Paper - My Mind's Eye Lost & Found Heirloom Collection
Punch - Kreaxions 4 in 1 Punch #905
Ribbon - Kaisercraft
Stencil - The Crafter's Workshop (Mini Grandma's Doily)
Wire Embellishment - Maya Road
Wood Embellishments - Prima
Showing posts with label Cameo. Show all posts
Sunday, February 2, 2014
Friday, October 18, 2013
Practical Scrappers Pinterest Friday
Hello! Happy Friday. Today at Practical Scrappers, a few of the design team members are sharing some of our Fall projects that were inspired by the highly addictive Pinterest.
I love to pinning craft ideas and I especially love to create wreaths. This wreath was inspired by a glitter wreath I saw by Homemade By Jill.
With the leaves falling from the trees here in Canada, I thought it would be nice to decorate my home with a warm, rustic Fall wreath with four different glitters, Helmar Craft Glue, a hot glue gun, a 10 inch circular styrofoam wreath form and my Silhouette Cameo.
First I chose a leaf shape #33054 in the Silhouette Online Store and sized the leaves to be 3 inches high by 2 inches wide and cut out, on my Silhouette Cameo, four 12X12 sheets of kraft card stock with 20 leaf shapes on each sheet to make a total of 80 diecut leaves. I applied Helmar Craft & Hobby PVA Glue with a brush and brushed the leaves with an even coat of glue and then immediately sprinkled glitter on the leaves. For the glitter I used four colours of glitter. I then layered the leaves applying hot glue to the bottom of each leaf and worked my way around the wreath form. Finally before I applied leaves to the top of the wreath, I formed a loop with some jute twine to hang the wreath of a wreath holder. For my wreath, I didn't attach a bow. I thought it looked fine to me without one.
I definitely had some glittery fun and my advice is to make sure you use a craft mat and have a shower after the wreath is complete. Oh, and make sure it is before housecleaning day as a good vacuuming will be in order.
I hope you enjoy my wreath and hope you are inspired. Thanks for looking!
Subscribe to:
Comments (Atom)


