Showing posts with label September Creative Kit. Show all posts

Thursday, September 14, 2017

Paper Piecing Tutorial For My Creative Scrapbook

Hello friends! Today I thought I would share a quick tutorial on how I created the paper strip base of this layout using paper strips from the September Creative Kit at My Creative Scrapbook.

Supplies 

1 - 12X12 sheet of white cardstock
Paper trimmer
Scissors
Tape runner adhesive
Several paper strips from the September Creative Kit

Instructions

With a paper trimmer cut four squares of white cardstock measuring 4 1/2 inches by 4 1/2 inches.


Cut several paper strips 1/2 inch wide by at least 4 1/2 inches long.


Starting at the left side, adhere paper strips to white cardstock square.


Add another paper strip to the bottom edge of the white cardstock square being sure to adhere the left edge of the paper strip up against the first paper strip edge as shown below. Trim the edges flush with the white cardstock edge.


Continue adding paper strips to the left hand side and the bottom side as shown. 


Continue in this fashion until paper strips are covering the entire square. Repeat with all four squares of white cardstock.  The four squares are now complete. On another note, I don't know what happened, but I accidentally deleted the last few photos of paper strips to complete each cardstock square, but I am hoping that you get the idea. 

As you can see on my layout below, I added the four paper strip squares to the brown background paper as shown below. I chose to add the squares so they are about half an inch apart matching up the paper strips and having the direction of the paper strips appear like one large square. I thought they looked like two large brackets like these...[ ] . 

To complete my layout I added the the digital cut files that were included in the kit and cut them on white cardstock with my electronic die cutting machine placing them on the page and then adding the photo, title and embellishments. Finally, I tried out my new sewing machine and machine stitched a scalloped stitch in aqua thread around the edge of the brown paper background.


Here are some closeups of my layout.


I hope you enjoyed my tutorial and give this a try. It is a great way to use up papers from the kit.

Thanks for stopping by and have a great day. 

Thursday, September 22, 2016

My Creative Scrapbook September Tutorial

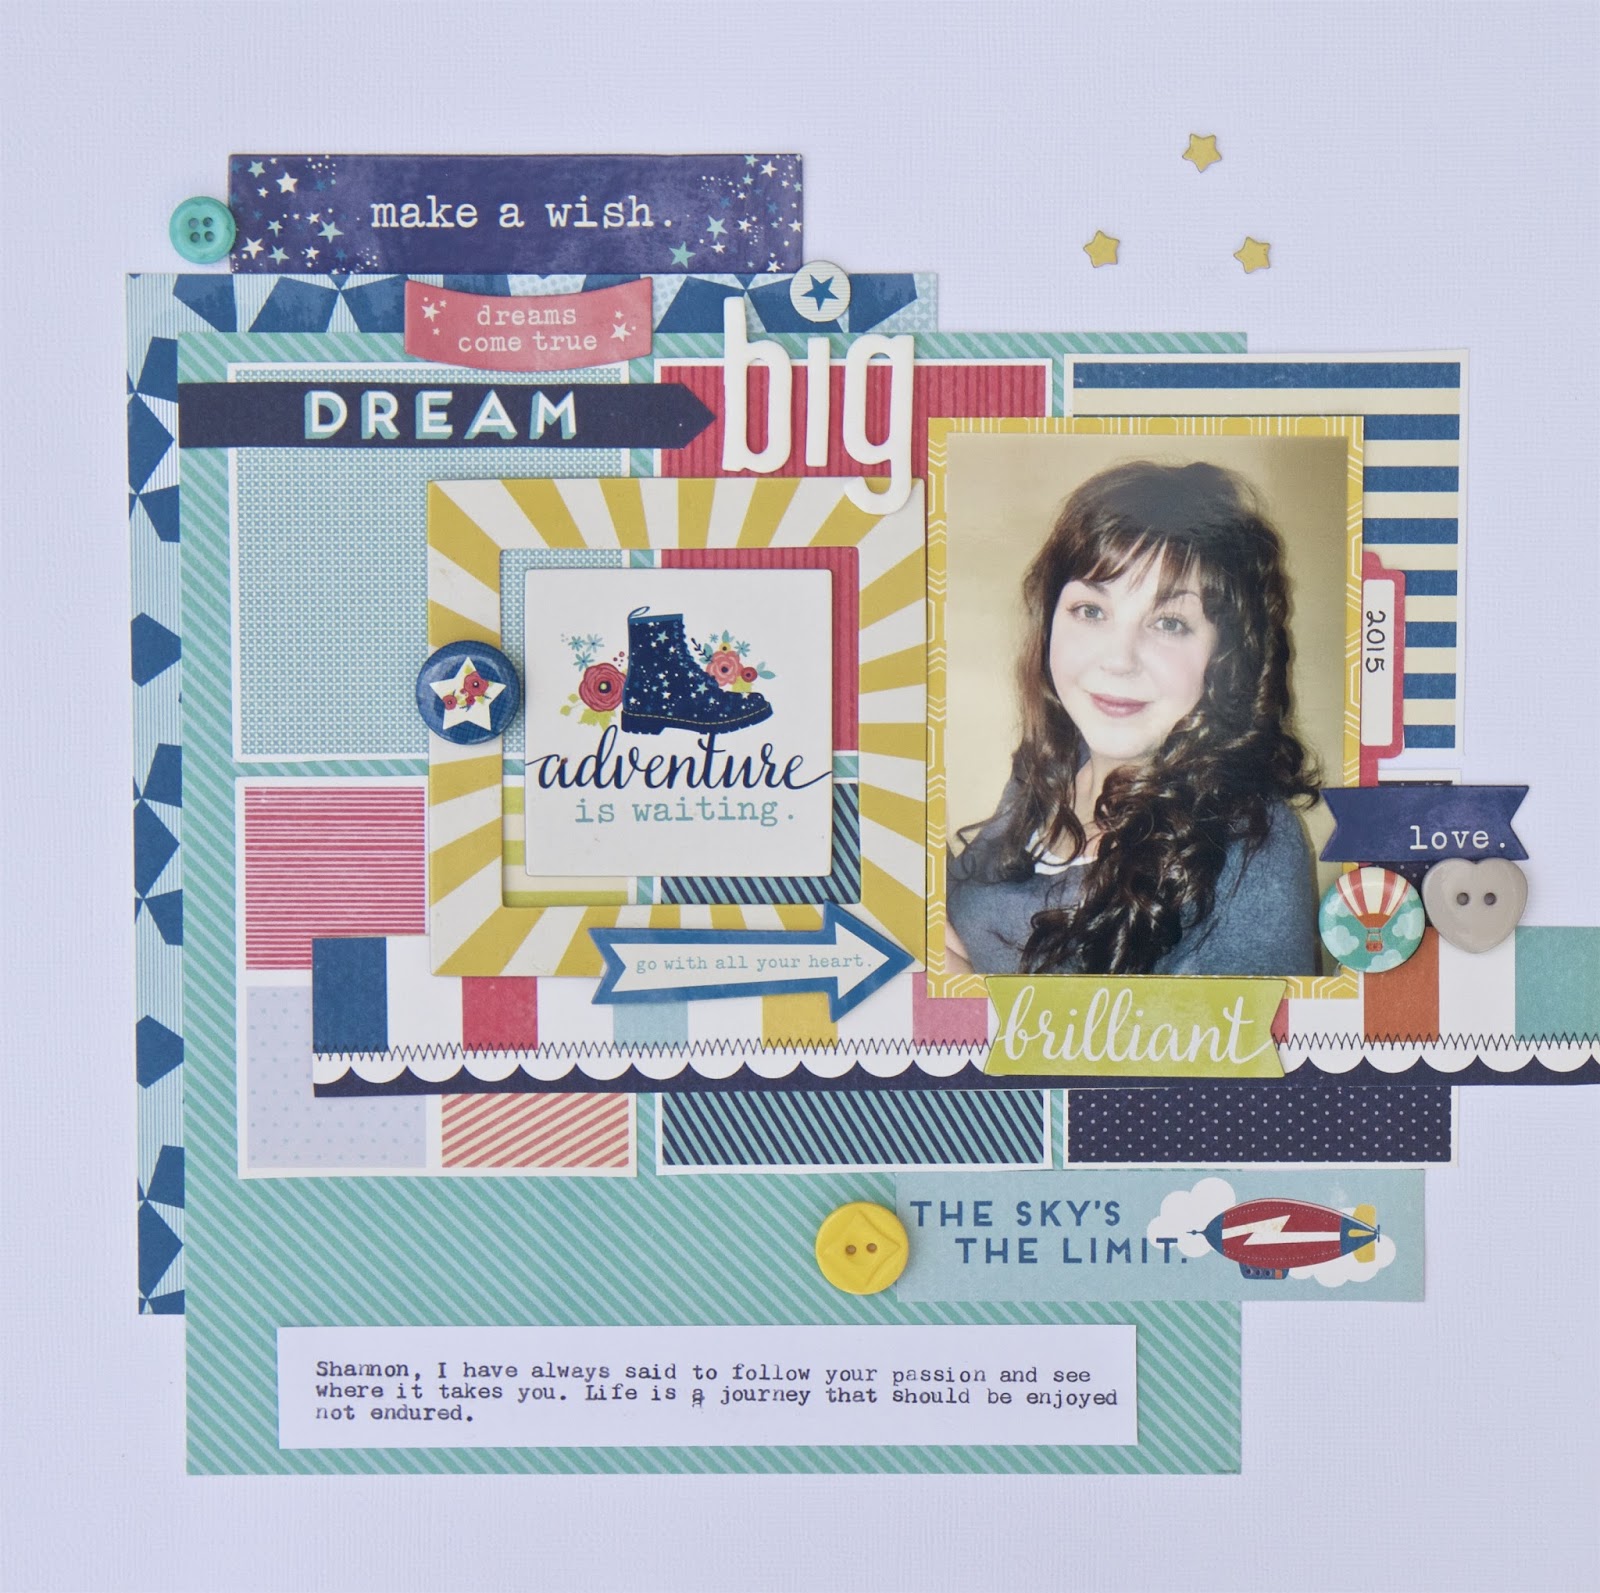
Hi everyone! I hope you are having a good day.  It's Lee-Anne here and today I wanted to share another step by step tutorial of the layout below that I created from the My Creative Scrapbook September 2016 Creative Kit.

My Creative Scrapbook September 2016 Creative Kit
I  enjoyed creating with this fun kit.  It had plenty of papers and embellishments from the new American Crafts Shimelle Starshine Collection.


Here we go:

Begin with a 12X12 inch piece of white of card stock.  This will be used for the background to build the layout on.

Cut the blue star paper 7 1/2 inches long by 6 inches wide and adhere to the white cardstock background.


 Cut the blue diagonal striped paper 8 1/2 inches long by 7 3/4 inches wide and adhere to the blue star paper leaving about a half inch of the blue star paper above and to the left of the blue diagonal stripe paper.  Adhere.

Cut the six squares of patterned paper from the paper sheet that has rectangle and square patterned papers and adhere to the blue diagonal stripe paper as shown below.  Add the strip of scalloped striped paper and adhere as shown below.


Add the yellow stripe chipboard frame and place it over the patterned paper squares as shown below.  Add the "adventure is waiting" chipboard square inside of the yellow stripe chipboard frame. Adhere.


Mat a 3 X 4 photo with the yellow paper and adhere to the right of the yellow stripe chipboard frame.


Add the balloon flair button to the bottom right corner of the photo as shown below.


Adhere the green "brilliant" chipboard die cut to the bottom of the photo.  Be sure to center it before sticking it down onto the photo.


Adhere the pink tab to the right of the photo and also the "blue love" chipboard banner and grey heart button as shown.


Fussy cut the "the sky's the limit" paper and adhere below the navy polka dot square patterned paper as shown.  Adhere the yellow button to the left of the paper.


Add the star flower flair button to on top of the yellow stripe chipboard frame and adhere.  


Add the "make a wish" chipboard above the star paper. Adhere the turquoise button to the left of the chipboard.


Add the chipboard "go with all your heart" arrow to the bottom of the striped yellow chipboard frame directing the eye to the photo.


Add the three small chipboard stars to the top right side of the layout as shown on the layout.


Adhere the small chipboard star circle and the white foam alphas as shown on the layout.


Add the "dream" diecut to the left of the title "big".  Adhere the pink chipboard "dreams come true" piece above the "dream" diecut. 


To complete the layout, I added the year on the pink tab to the right of the photo with a black fine pen, and also typed out my journaling on a white piece of card stock and adhered it to the blue diagonal striped paper.  

I hope you enjoyed this tutorial.  This layout of my daughter was inspired by the September Sketch at My Creative Sketches, which is the sketch site for My Creative Scrapbook.   If you play along with the sketch and link up your layout at My Creative Sketches, you have a chance to win a fabulous prize.  The deadline is October 14 (EST midnight) to link up and the random draw for the winner will be announced October 15. 

Have fun!