Hello friends!
Christmas and the holidays are just around the corner and I thought it would be fun to share a step by step tutorial of this festive layout using the exclusive bow cut file and the December Creative Kit from
My Creative Scrapbook.
You will need:
Basic Supplies
1 sheet of black textured card stock (I used a 12 inch by 12 inch sheet)
2 sheets of white textured card stock ( I used 2- 12 inch by 12 inch sheets)
Cellophane (some cellophane packaging from the kit works well)
Dimensional foam squares
Dimensional foam tape
Electronic die cut machine (I used the Silhouette Cameo for this layout)
Glue pen (for adhering the thin paper strips to all four corners of the outside edge of the layout)
Laser square (optional)
Mister (to add water to the cellophane and paints)
Paint brush (I used a round watercolor brush)
Paper piercer and cushioned mat (for adding the brads)
Pencil
Ruler
Scissors
Scotch tape
Sewing machine (or embroidery needle and embroidery floss in red)
Sewing thread (I used red thread)
Tape runner adhesive (I used my Scotch ATG gun)
Water
Watercolor paint set (I used the inexpensive Michael's brand set)
Photo (measuring 3 1/2 inches by 3 1/2 inches)
Kit Supplies (From The December Creative Kit)
Brads
Thirteen (13) assorted brads from the kit (as shown on layout)
12 inch by 12 inch Sticker Sheet
Hey Santa sticker
Merry & Bright sticker
Phrase stickers (naughty or nice, and ho, ho, ho)
Star shaped stickers
Chipboard stickers
Green tree chipboard sticker
Present chipboard sticker
Complimentary Cut files (November 2017 included with the purchased kit)
Bow
Patterned Papers
Multi-colored stripe patterned paper (also cut the red and white stripe diagonal paper strips from this for the four outside corners of the layout)
Cream paper with red, green and black polka dots
Red, green, and white plaid paper
Red and white dotted paper
Instructions
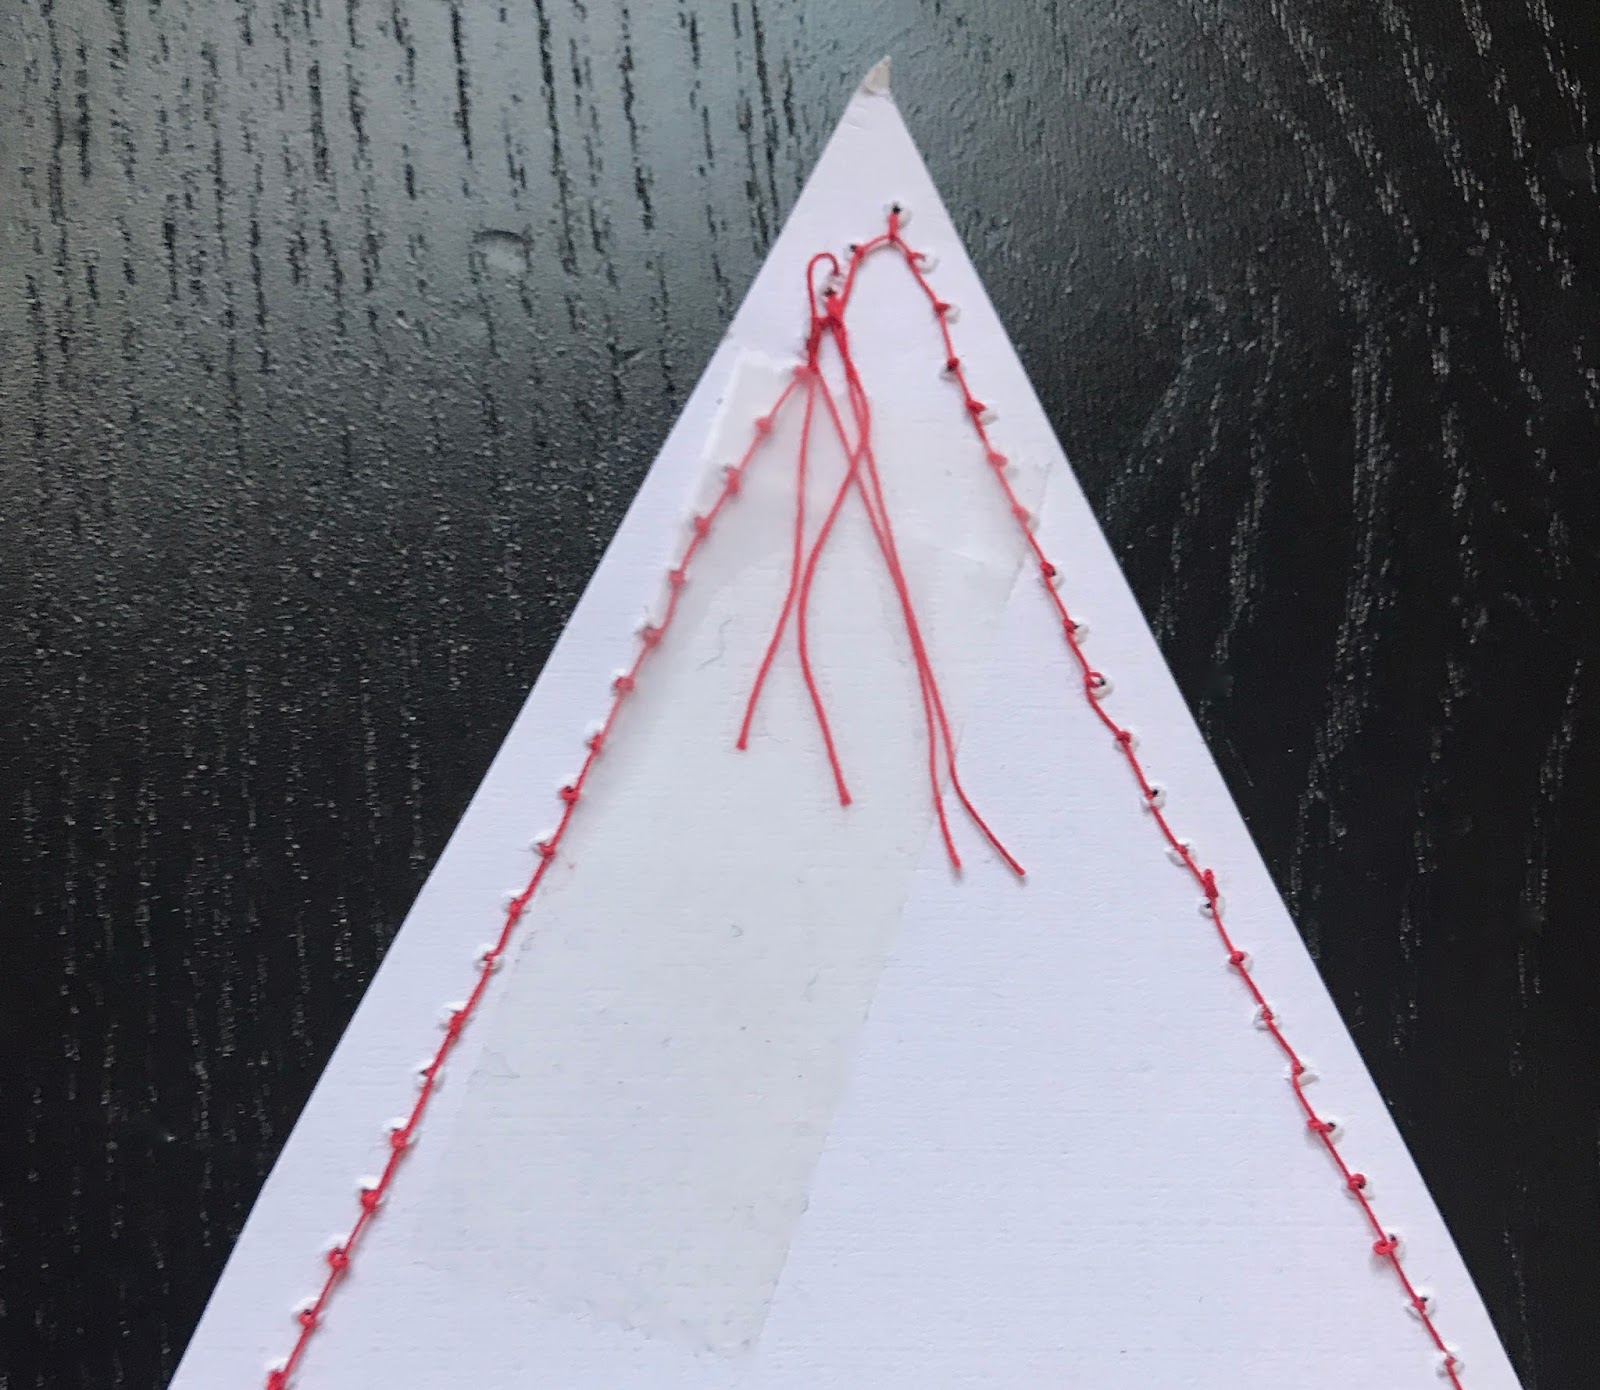
1. For the base of the tree, cut out a triangle out of one 12 inch by 12 inch sheet of white card stock.
Machine stitch 1/4 inch from the outside edges of the paper with red thread.
When the stitching is completed and the top thread has been worked through to the backside, turn over the paper and secure the threads to the backside with scotch tape. Trim threads with scissors.
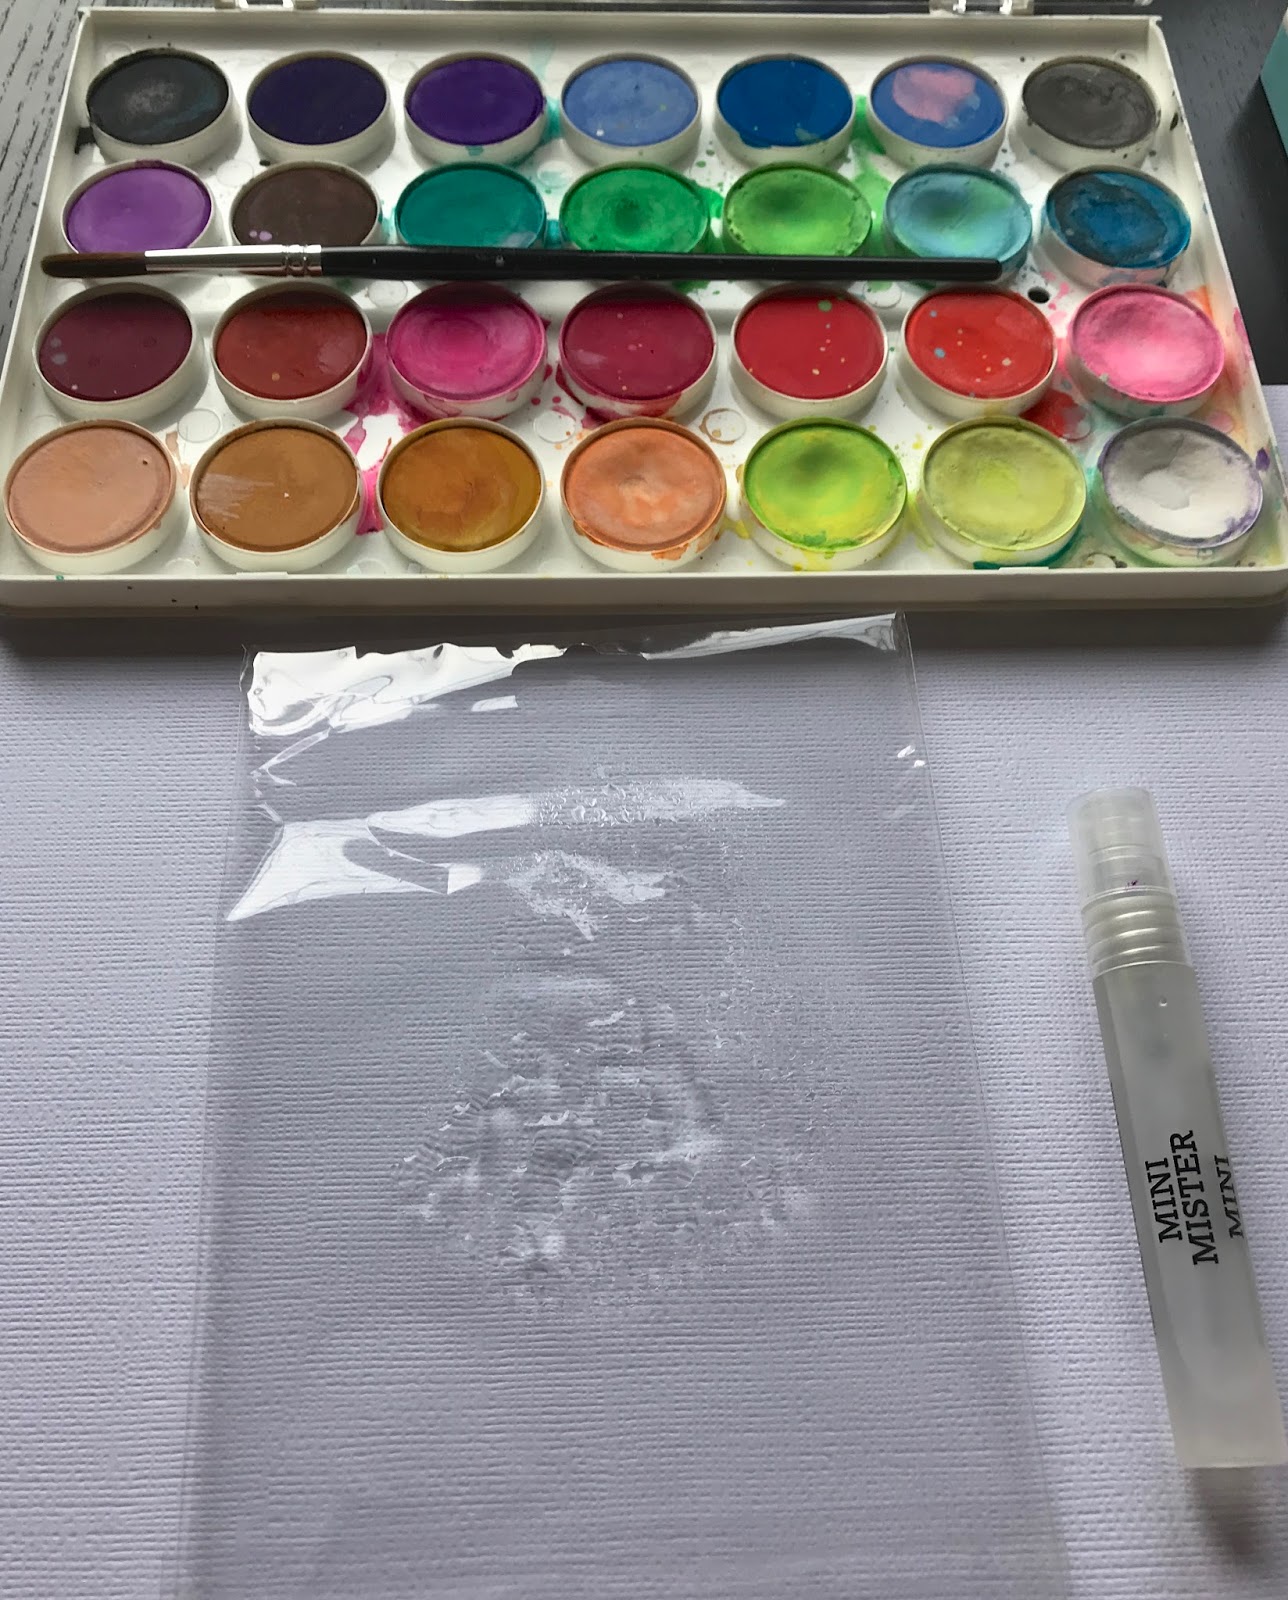
Using the the round watercolor paint brush,
the watercolor paint set, and the mister filled with water, mist the green watercolor paint.
Also mist the cellophane packaging with the mister.
With the round brush, pick up some green paint with the brush and paint the water misted cellophane packaging.

"Stamp" the white card stock triangle with the paint. Keep on applying paint several times to the cellophane packaging and "stamping" until the desired coverage and effect are achieved.
Once the tree is somewhat covered in paint, let air dry. A heat gun would speed up the drying process but isn't absolutely necessary.
Center the "tree" onto the 12 inch by 12 inch sheet of black card stock and when it's centered, add tape runner adhesive to the backside of the tree and secure in place.
Import the bow cut file into your electronic die cutting machine. Trace the design and enlarge the size of the cut file to 2 1/2 inches long by 2 inches wide and fill the page.
On my photo below, I created fifteen bows.
Cut fifteen bows out with the electronic die cutting machine onto a 12 inch by 12 inch sheet of white textured card stock. Set one bow aside for another project because this layout will only use fourteen bows.
Using the positive shape of each bow, back each bow with patterned paper. To do this, I trimmed the patterned paper by placing it underneath the white card stock bow and trimming it to the same size of the bow.
I made four multi-colored striped bows, four red and white dotted bows, four red, green and white plaid bows and two cream with red, green and black polka dot bows.
Using some foam tape or small foam squares, trim into very small pieces and adhere to the underside of the white card stock bow.
Place the patterned papers on top of the white card stock bow and foam strips. Align exactly and press down to adhere. Be sure the desired patterned paper will be adhered to the foam strips because when it is turned over, the patterned paper will have a shadow box effect with space between the bow cut file and the patterned paper. This gives each bow more depth.
Add brads to the center of each bow alternating colors. I added a total of thirteen brads as shown below.
Place each bow down (using fourteen of the bows) onto the green triangle being sure to space evenly apart and that the brads are added to the center of each bow before adding a foam square to stick down permanently. This is where I used my laser square to be sure everything is aligned and centered correctly.
Cut a piece of multi-colored striped paper to approximately 1/8 inch larger than the photo. Adhere to the photo.
Add dimensional foam strips add to the back of the matted photo.
Adhere the matted photo as shown on the photo below.
Find the red "hey santa" sticker and add a foam square to the backside of the sticker and adhere to the bottom right corner of the photo.
Add some star stickers to the right side of the photo as shown below.
Add four star stickers to the top left side of the layout as shown below.
On the multi-color striped paper, locate the red and white diagonal stripes and cut out 8 strips measuring 2 inches long. Adhere to each corner of the black card stock background flush with the outside edge. For the "trunk" of the tree, cut a small strip of the multi-color striped paper with scissors and adhere to the bottom of the "tree".
With the "naughty or nice" and "ho, ho, ho phrase sticker, adhere to the top and bottom of the photo as shown.
With the "merry and bright" sticker, adhere to the left side of the layout as shown.
For the title, adhere the "Merry Christmas" chipboard stickers to the layout as shown using small foam squares or small foam strips cut to size.
Adhere the green chipboard tree behind the red "Hey Santa" sticker. Adhere the chipboard present on top of the green tree chipboard as shown below.
The layout is now complete!
This is the cut file that is included with the December Creative Kit and also the December Main Kit at
My Creative Scrapbook.
This layout would also be nice framed in a 12 inch by 12 inch black shadowbox frame to hang on a wall for the festive season.
I hope you are inspired to create your own dimensional bow tree. Thanks for stopping by and be sure to reserve your gorgeous kit today at
My Creative Scrapbook.
Merry Christmas and Happy Holidays!
Lee-Anne