

Kit Supplies
Snap Cards
Yellow Polka Dot Patterned Paper (For paper strips and matting the photos)
Butterfly Paper (handcut a green, yellow, aqua and pink butterflies)
Stickers (Spring Banner, Bloom Where You Are Planted, It's A Beautiful Day Today! and Butterfly Circles)
Additional Supplies
12X12 sheet of white textured cardstock
Adhesive - tape runner and dimensional foam dots or squares
Craft Paint Or Mist (I used Heidi Swapp Colorshine in Mustard Yellow)
Paper Trimmer
Pencil
Ruler
Scissors
Circle Paper Punches (in a variety of sizes if possible)
Scalloped Circle Paper Punches (in a variety of sizes if possible)
Collage Maker For Photos (I used Turbo Collage on my iphone, but any collage maker will do)
Instructions
Cut the yellow polka dot paper in strips with a paper trimmer and adhere to top and bottom edge of the 12X12 sheet of white textured cardstock.
Add paint or mist splatters to the top left, top right and bottom left of white cardstock as shown. Be sure paint or mist is dry before moving to the next step.


Punch the selected Snap Cards with circle paper punches and scalloped circle punches.


Using the pencil and ruler, draw pencil lines across the 12X12 sheet of white cardstock as shown.

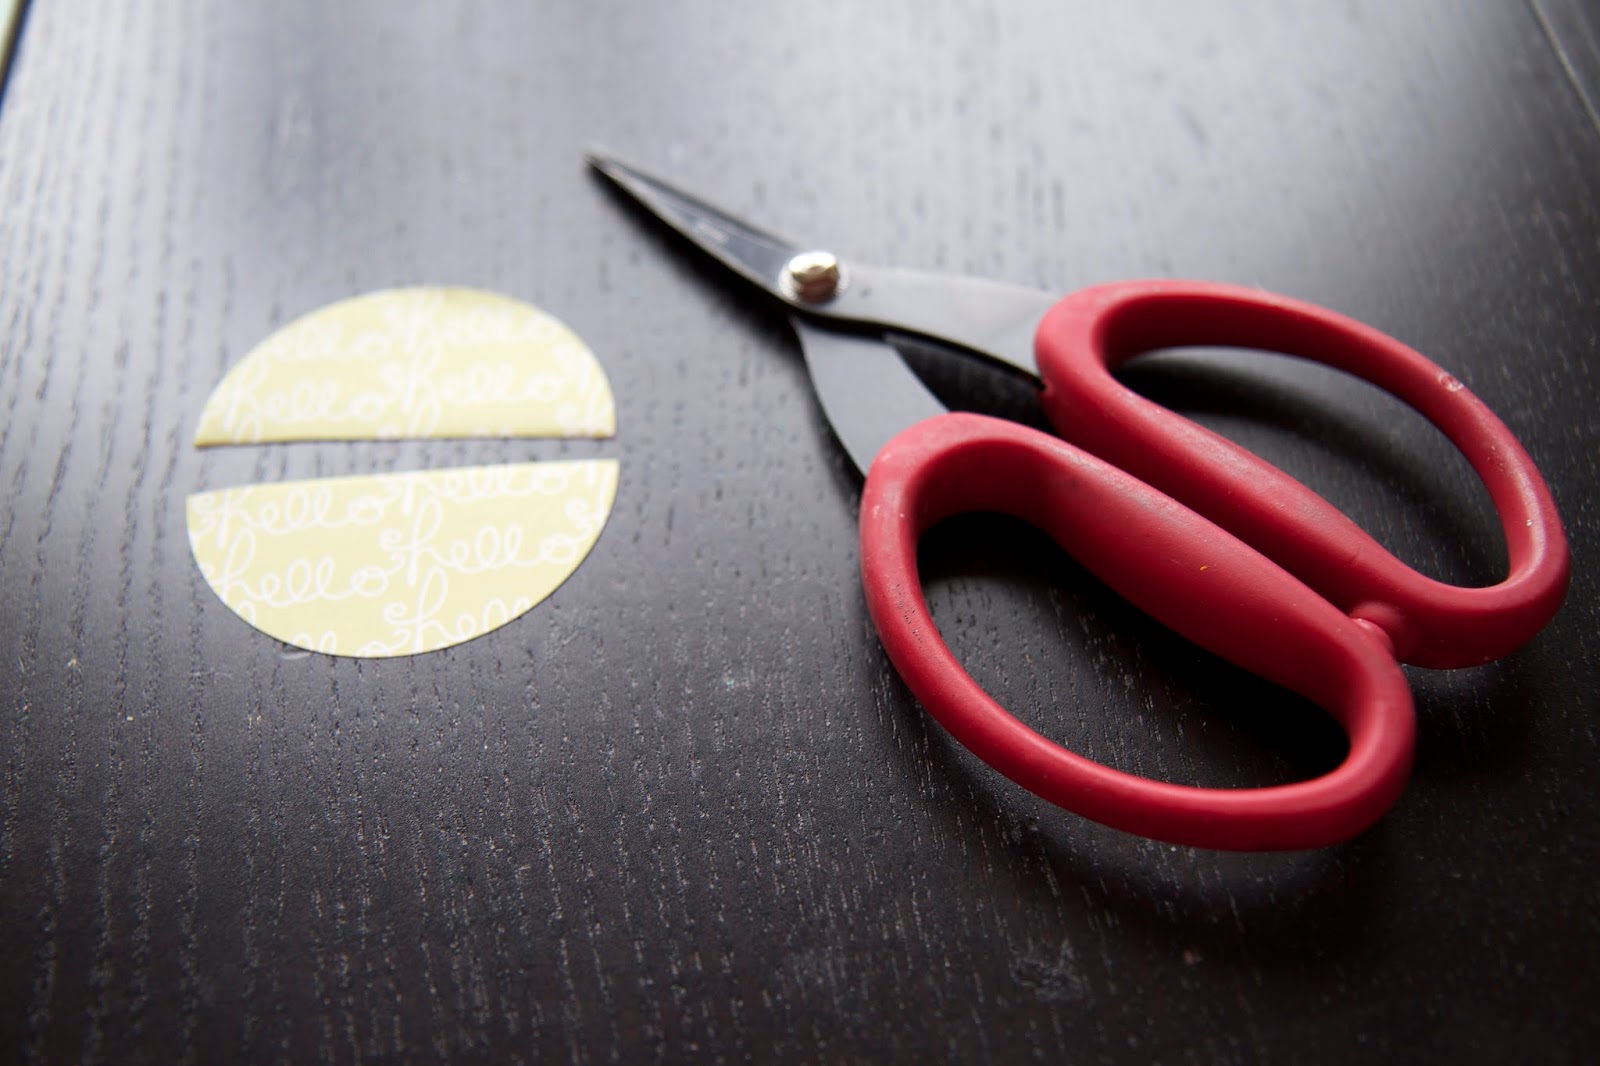
Hand cut the punched paper circles in half with scissors.
Arrange the paper circles, that are cut in half, flush along the pencil lines being sure to overlap and alternate colors.

When you are satisfied with the placement, adhere the paper circles down with adhesive and if you would like, add some dimensional foam dots or squares to the backside of some of the circles to give more dimension.
Create photo collage and print.
Mat photo collage with yellow polka dot paper and adhere to the page using dimensional foam dots or squares. Make sure that the matted photo collage is beside the punched paper circles as shown.
Fussy cut the four butterflies and adhere to the page with foam dots or squares.
Add circle butterfly stickers to the page with foam dots or squares
Add Spring Sticker Banner to the page as shown and also the other stickers as shown.
Your layout is complete.
I hope you enjoyed this tutorial and give it a try. Happy creating!
Beautiful work Lee-anne! And wonderful tutorial...clear and easy to understand! xo
ReplyDeleteBeautiful work Lee-anne! And wonderful tutorial...clear and easy to understand! xo
ReplyDeleteThanks Gabrielle! I would like to try process videos, but have to research how to do one with my DSLR and imovie.
Delete