Showing posts with label Leaves. Show all posts

Saturday, November 21, 2015

Just Nick Digital Cut Files November Freebie

Hello friends! November seems to be moving right along and I thought I would pop in and let my blog followers know that Just Nick Digital Cut Files offers a free cut file each month.  Here is the layout that I created with the freebie:


 For this month, it is the Leaves Cut File.  The free download is available until midnight CST on November 30, 2015.  Simply use the code LEAVESFREE at checkout.  After November 30,  it can be purchased.  You can download it here.


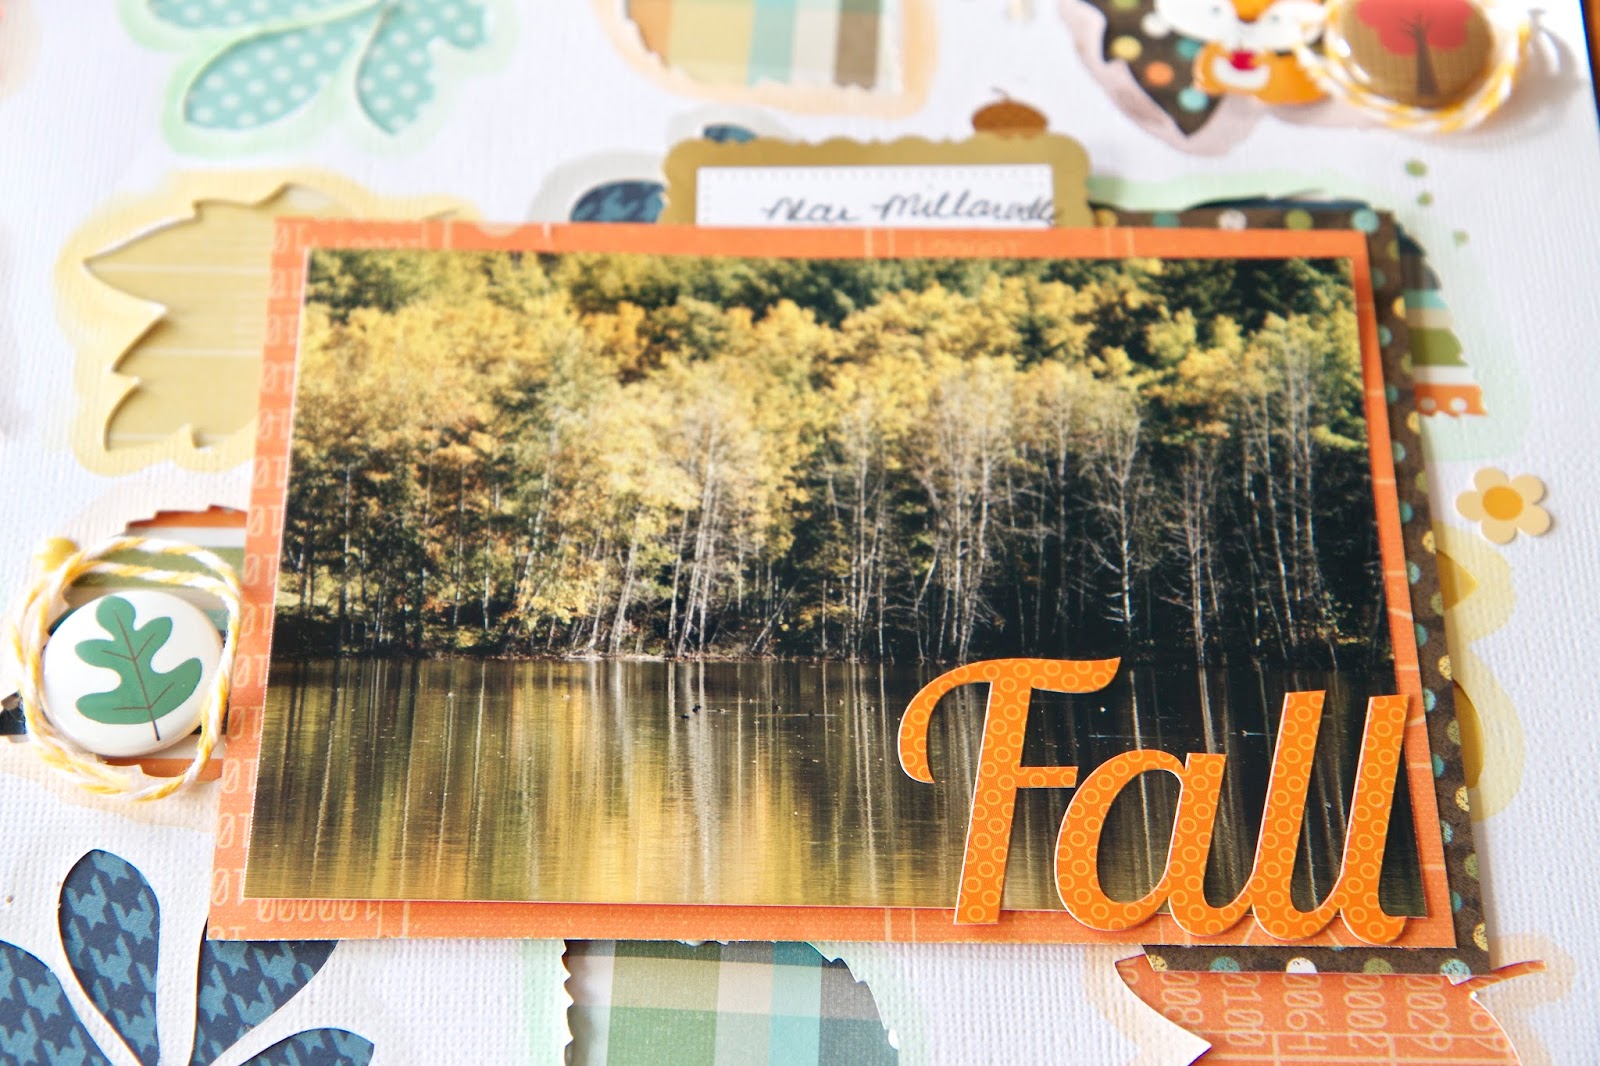
I began my layout by cutting several leaves on my Silhouette Cameo using the Leaves Cut File with the Echo Park The Story Of Fall 6X6 Paper Pad.  I especially like the idea that I can arrange four 6X6 papers on my cutting mat and cut them all at once. The papers are double sided so there are lots of different patterns and colors.

For the title,  I used the word "smile" from the Capture This Cut File Set, an older cut file in the Just Nick Shop, and cut it out on some gold foil paper. 

Capture This Cut Files

 After the leaves were cut, I arranged them in a square on the outer edge of the white card stock background and then carefully machine stitched around the outside edge to fasten them. I also like to bends the leaves up so it gives more dimension.

Finally, I  embellished the layout with some sequins, enamel dots and a flair button from A Flair For Buttons.  

Thanks for stopping by and I hope you enjoy the free download.  Don't forget to share your creations with us using any of the Just Nick cut files by tagging us at @justnickstudio on Instagram or on the Facebook page here.  

Happy scrapping!

Cut Files Used:  Leaves, Capture This


Saturday, September 26, 2015

Fall Layout

Happy Saturday! Today I am on the A Flair For Buttons blog with a Fall layout.

 I tend to be a seasonal scrapper and the minute that my son went back to school I took out the Fall scrappy goodies.


This layout was created using some watercolors, patterned paper, some digital cut files from the Silhouette Online Store, stickers, twine, mist splatters and of course some flair buttons from A Flair For Buttons.

For this layout,  I used the Fall 3 Flair and the Fox And Owl Flair.  I placed one flair button from the Fox And Owl Flair Set to the left of the photo to lead the eyes to the photo.


 and I placed another flair button from the Fall 3 Flair Set on the right hand corner of the layout in a cluster.


Here are some more closeups


I backed the white card stock background with several different colors of patterned paper.  I used the So Rad Collection by Simple Stories for the papers and an older collection called Sweater Weather from Simple Stories for the title stickers and some stickers from Doodlebug Designs Friendly Forest Collection. 

You can find lots of Fall, Christmas and Thanksgiving flair in the shop right now and some are new! Go here to shop. 

 Thanks for stopping by! Have a great day!

Flair Used On This Layout


Friday, October 18, 2013

Practical Scrappers Pinterest Friday

Hello!  Happy Friday.  Today at Practical Scrappers, a few of the design team members are sharing some of our Fall projects that were inspired by the highly addictive Pinterest.

I love to pinning craft ideas and I especially love to create wreaths.  This wreath was inspired by a glitter wreath I saw by Homemade By Jill.

With the leaves falling from the trees here in Canada, I thought it would be nice to decorate my home with a warm, rustic Fall wreath with four different glitters, Helmar Craft Glue, a hot glue gun, a 10 inch circular styrofoam wreath form and my Silhouette Cameo.

First I chose a leaf shape #33054 in the Silhouette Online Store and sized the leaves to be 3 inches high by 2 inches wide and cut out, on my Silhouette Cameo,  four 12X12 sheets of kraft card stock with 20 leaf shapes on each sheet to make a total of 80 diecut leaves.  I applied Helmar Craft & Hobby PVA Glue with a brush and brushed the leaves with an even coat of glue and then immediately sprinkled glitter on the leaves.  For the glitter I used four colours of glitter.  I then layered the leaves applying hot glue to the bottom of each leaf and worked my way around the wreath form.  Finally  before I applied leaves to the top of the wreath, I formed a loop with some jute twine to hang the wreath of a wreath holder.  For my wreath, I didn't attach a bow.  I thought it looked fine to me without one.


I definitely had some glittery fun and my advice is to make sure you use a craft mat and have a shower after the wreath is complete.  Oh, and make sure it is before housecleaning day as a good vacuuming will be in order.

I hope you enjoy my wreath and hope you are inspired.  Thanks for looking!