Friday, January 12, 2018

Baby It's Cold Outside

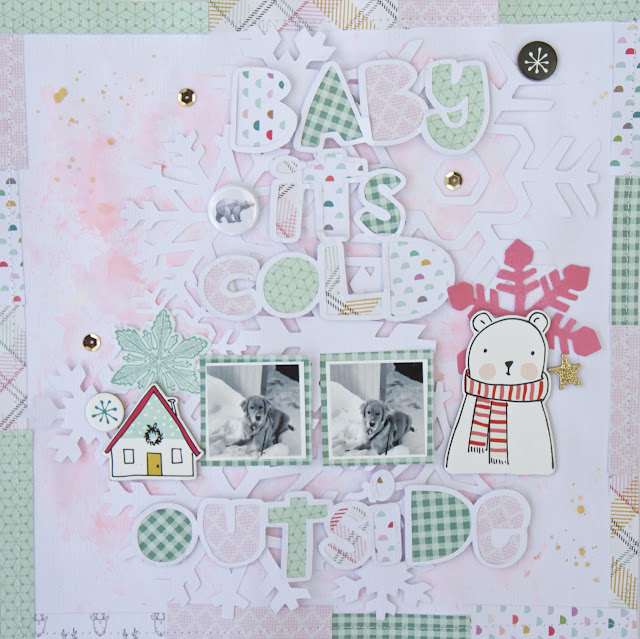
Hello friends! Today I wanted to share a winter layout of my pup enjoying his first winter in the snow.


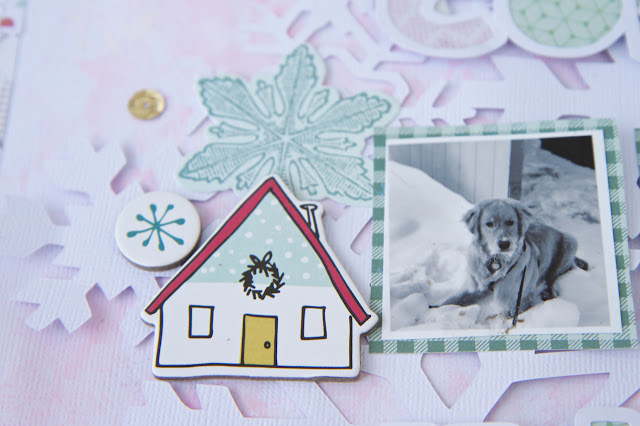
For my layout I used papers from the Snow & Cocoa Collection by Crate Paper for the patterned papers, stickers, chipboard and ephemera. I must admit that this is one of my favorite winter collections ever. Don't you just love the mint green and soft pinks?


I began my layout by smooshing some pink watercolor paint mixed with a tiny bit of white watercolor paint and brushing it onto a piece of cellophane packaging and smooshing it onto the white cardstock background. Once it was dry, I chose two cut files, the Snowflake Background and the Handcut Letters cut file that I offset on my Silhouette Cameo, welded them to make one large title and backed it with some patterned papers. To make it more dimensional, I popped it up on some foam adhesive squares over the Snowflake Background. 


I added a polar bear flair button, which is one of the flair buttons from the Animal 3 Flair set from A Flair For Buttons to the left hand side of the word "it's" in my title to direct the eye to the title. 


I matted the two photos of my pup on green checked patterned paper and embellished the layout in some chipboard stickers, ephemera and gold sequins.


Lastly, I added strips of patterned papers around the edge of the layout and machine stitched them so they weren't going anywhere and some gold mist splatters.


I will be taking a little break and going on a week's vacation and getting away from the -30 temperatures. My youngest son and I will be flying to southern California to enjoy some warmer weather and explore Disneyland, Universal Studios and San Diego. We can't wait!

Have a nice weekend!



Thursday, January 11, 2018

Layouts With The January Creative Kit

Hello friends! Today I thought I would share the six layouts that I created with the January Creative Kit for My Creative Scrapbook.

January Creative Kit
Layout 1


For this layout, I wanted to create a layout with sprays, stencils and texture paste and add the kit's papers, rhinestones and stickers. 


Layout 2

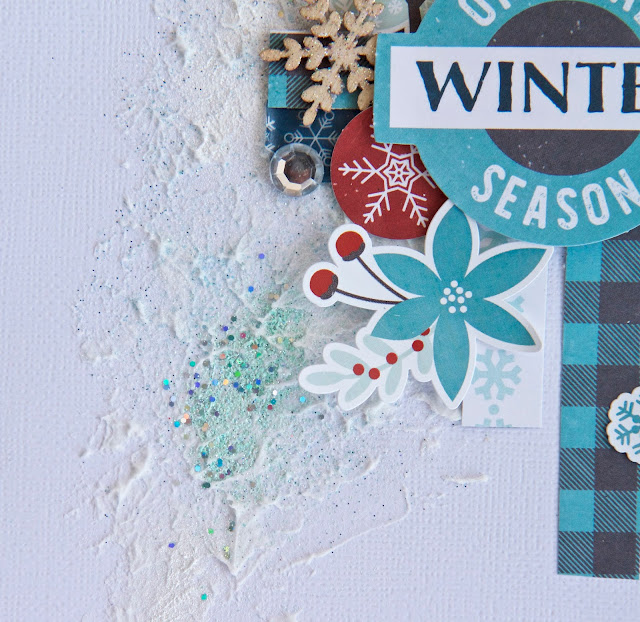
On this layout, I added some texture paste and heat set some aqua embossing powder to the white cardstock background to give it a snowy look. Then I added patterned papers and stickers from the kit and finished it off with some rhinestones, machine stitching and computer journaling.


Layout 3

For this layout of my hubby and I, I used the January sketch that was designed by Laura Whitaker and wanted the triangles on the sketch to appear as "mountains". I added some white cardstock to some of the mountain "peaks" and added a black fine line pen to outline the mountains to make them stand out more. I added some ephemera, stickers, washi tape, red twine,  rhinestones and hand journaled with a fine line black pen.


Layout 4

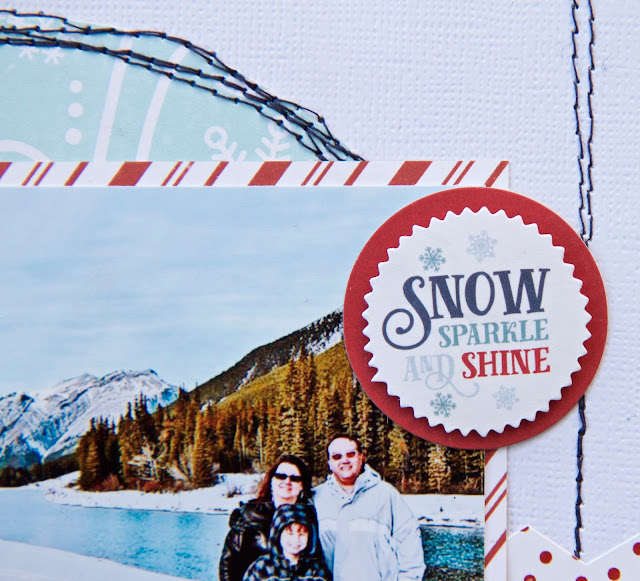
This layout of my son and hubby was taken in the mountains and I think it's my favorite layout that I created with the kit. I added three torn paper strips, lots of machine stitching, stickers, ephemera, some navy blue mist splatters, and a banner that I created with the washi tape, rhinestones, and twine that were included in the kit. I love the pops of red on this layout and love winter layouts with this color palette.


Layout 5

This layout was a lot of fun to create. I painted the chipboard with white acrylic paint and went ahead and heat embossed the chipboard title and snowman with blue, black, and white embossing powder.  I took out my Faber Castell Big Brush Pens in orange, royal blue, black and red to fill in the chipboard snowman. I went with a circular theme so I added several patterned papers from the kit that I punched with various sizes of paper punches. I also added rhinestones, ephemera and stickers as well as the cute snowman washi tape that were included in the kit. I journaled with a black fine line pen in a circle on one of the punched paper circles to add some fun and whimsy to the layout.


Layout 6

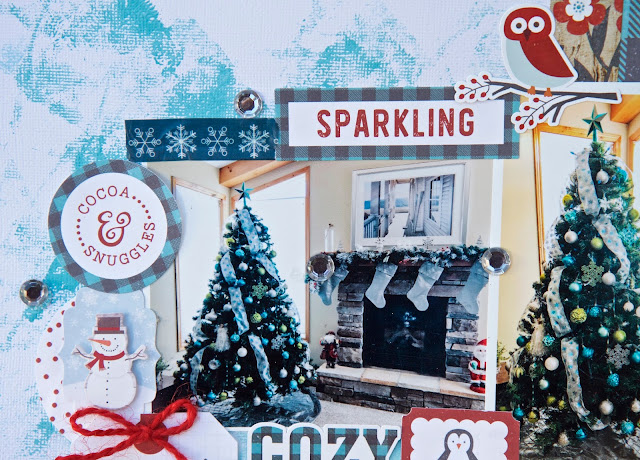
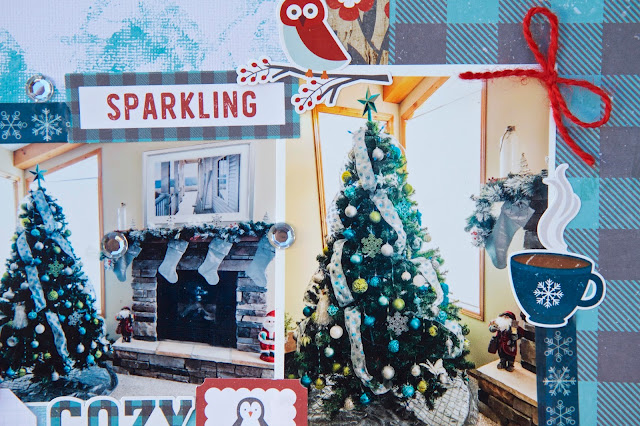
For the final layout, I began with a white cardstock background and a piece of cellophane and "stamped" some Ranger Distress Paint in Tumbled Glass on the white background.When it was dry, I added the plaid paper, the border sticker and then the two photos, washi tape, ephemera, stickers, red twine and rhinestones to complete the layout.


Well there you have it. The six layouts that I created with the January Creative Kit. I really loved the colors in this kit and it was a pleasure to work with.

Thanks for stopping by and be sure to check out this kit and all the monthly kits at My Creative Scrapbook. 

Have a great day!


Monday, January 8, 2018

Cards Created With The January Creative Kit

Hello friends! The January kits were revealed at My Creative Scrapbook a few days ago and I thought I would share seven cards I was able to create with the remnants of the January Creative Kit after creating six layouts. This kit has so many goodies and is a great value.

January 2018 Creative Kit


 I love, love, love the colors in this winter kit. The red pops with the teal.

Tomorrow I will share some layouts.

Have a great day!