Saturday, January 28, 2017

Fresh Flowers

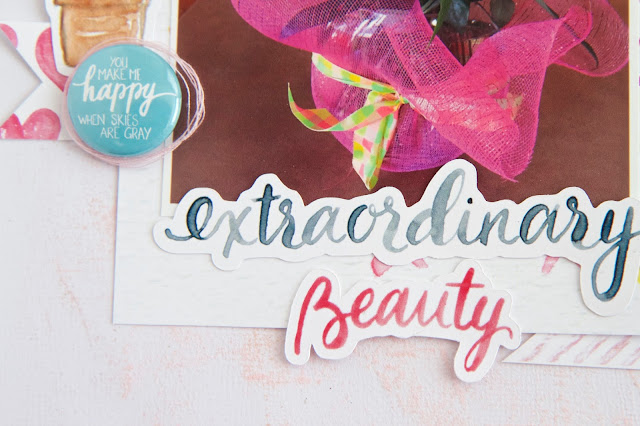
Hello friends! Sometimes it's nice to play around and just have some fun.  This is what this layout is about. Getting messy with some acrylic paints and gesso.  My husband gave me these gorgeous flowers and I knew I had to create a page of them.


I dipped a rubber stamp in pink acrylic paint (Spun Sugar Ranger Distress Paint) and stamped around the outside edge of the white cardstock background.  Then I added some clear gesso to the center of the white cardstock, let it dry and then added some pink acrylic paint (Spun Sugar Ranger Distress Paint) with an expired credit card.


Next I added some papers, die cuts and embellishments from the Here Comes The Sun Collection by Pretty Little Studio.  I love the colors and the cute cacti in this collection.


A few months ago I purchased the pink typewriter (Typecast) from We R Memory Keepers and it has helped me journal on my pages a lot more than I did in the past.  


This layout was created for the January Mix It Up Challenge at Paper Issues.  The challenge was to use acrylic paint and gesso on a project.

Thanks for stopping by! Have a great day!


Wednesday, January 25, 2017

Happy Spring Layout

Hello friends! Today it's all about springtime.  I am so over winter how about you?  Easter is one of my favorite holidays and I thought I would use the Weird Science Background cut file from Just Nick Digital Cut Files


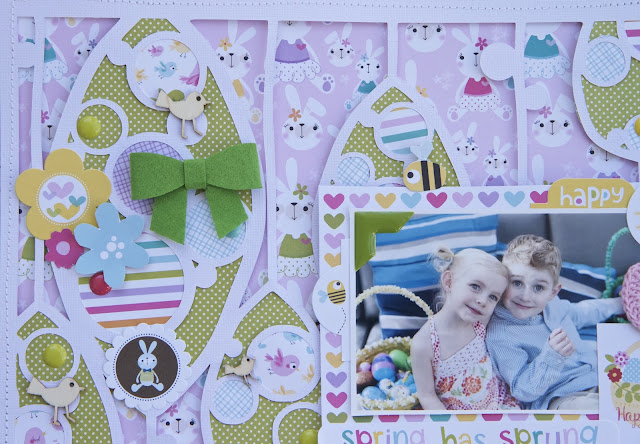
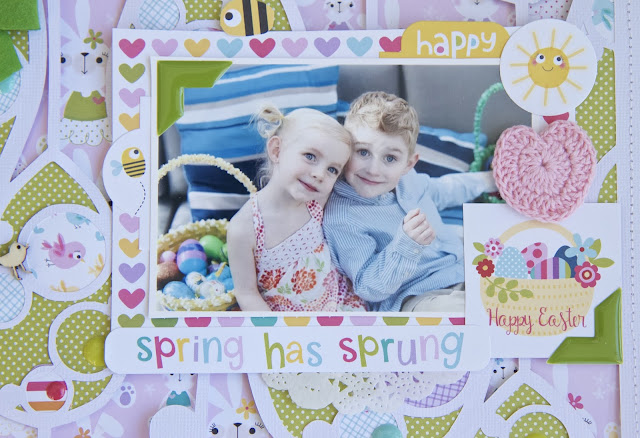
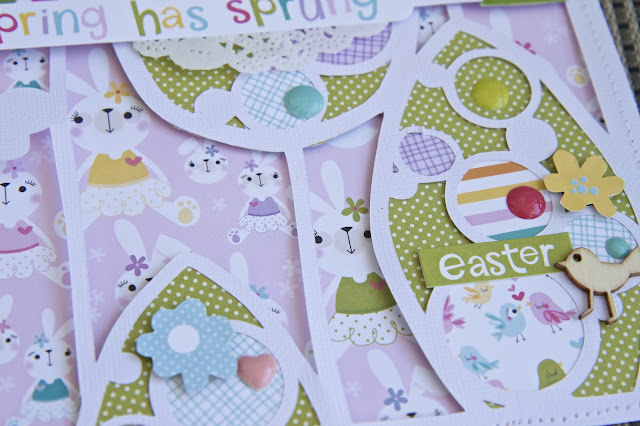
The background cut file looks like  trees to me so since this is a spring themed layout, I backed it with some green polka dot paper and added some spring patterned papers to the circles (all the papers here are from the Sweet Sweet Spring Collection by Bella Blvd.) and also some cute little bird wood veneers that I have had in my stash, some enamel dots, stickers, a crochet heart and fussy cut flowers. 

Here are a few closeups:


To create more depth and dimension, I added some foam adhesive squares to the backside of the "trees".  


Spring just makes me happy and I am looking forward to it. Thanks for stopping by!


Monday, January 23, 2017

Faux Pleats Tutorial - My Creative Scrapbook

Hello friends! Today I am sharing a quick step by step tutorial on how to create faux pleats on your paper projects.  I have made two layouts and a card with the January Main Kit at My Creative Scrapbook using this fun technique.


I made this card for the tutorial.


So let's begin...

You will need these supplies:

12X12 White Card Stock
Tape Runner Adhesive
Bone Folder
Papers from the Main Kit (as shown)
3 Inch Square Paper Punch


Punch out six squares of pink paper with the paper punch.


After the six squares are punched, score the squares with the bone folder about 1/4 inch on the left and right side of the square as shown.


After scoring, fold over the paper


Starting on the right side of the white cardstock, adhere the pleats as shown being sure to stagger them.


When they are adhered down add the heart paper strip and adhere to the bottom edge of the white card stock.


Check out the dimension of the pleats


To assemble the card, cut down the paper strip with a paper trimmer so it is flush to the left hand side of the pleats and heart paper strip.


Add the "I Love You To The Moon And Back" paper card and mat it with a scrap piece of pink paper.  Add the butterfly die cut, as shown, and adhere them down. Tie a bow with some string.  Add the "happiness is here with you" diecut and adhere.  

The card is now complete!  


 I hope you enjoyed my tutorial and try this technique! Have fun!


Christmas Kitty

Hello friends! Today at Just Nick Digital Cut Files I am sharing a layout of my cute kitty Sheldon laying under the Christmas tree.


For this layout I began with a sheet of blue plaid paper from Lawn Fawn and added a very large photo that I printed of my kitty Sheldon.  I cut the Nordic 3 Background cut file onto some white card stock with my Silhouette Cameo and added that on top of the photo and plaid paper.  I cut away part of the background to have the photo stand out and then machine stitched through the layout on the outside edge.  


The title was created with the Lower Outline Alphas that I cut on green plaid paper from Lawn Fawn and once they were cut out, I outlined each of them with a black fine tip pen.  I wasn't going for perfection so you probably will see that my hand was not very steady.  


Embellishing was the fun part.  Bella Blvd. makes these cute felt bows and I love the different colors they come in so I added a blue one and a green one to add some texture to the layout.  Flair buttons are my go to embellishment so I chose three flair buttons from A Flair For Buttons from my stash and added them as well. Notice that I added them in a triangle to draw the eye around the page.  


Finally, I added some ephemera pieces from Bella Blvd. and some enamel dots and voila! The layout is complete.


I hope you enjoyed your visit and be sure to check out all the fabulous cut files in the Just Nick shop.  
Have a great day!


Lower Case Outline Alpha

Nordic Background 3


Tuesday, January 17, 2017

Loveliness Layout

Hello friends! Life has been busy but I still try to find time to be creative so I decided to join some of the monthly challenges that Paper Issues has.  This one is for the Take 5 Tuesday challenge. The challenge is to use five or more items on the list on a layout.  I thought I would do some stash busting while I'm at it.  


I have been hoarding this Pink Paislee Bella Rouge Collection for two years and thought it was time to break it out.  I am really digging pink at the moment and softer colors.  This layout is of my daughter and her bridesmaids on her wedding day.


I added a flair button from A Flair For Buttons


My sewing machine always gets a workout and I love the texture that just a little sewing creates on a layout.


Recently I purchased a pink Typecast typewriter from We R Memory Keepers to add some journaling to my layouts.  Journaling is something I usually hide or write on the back of my layouts, but I am trying to add more journaling strips.


Bella Blvd. always has some of the cutest embellishments so I dug into my stash once again and pulled out an pink enamel heart and a pink felt bow.


I love these silver phrases that I had in my stash and thought the word "loveliness" would be perfect for my title.

Thanks for stopping by. I hope you enjoyed your visit and have a chance to do something you love.  It is soothing for the soul.  Have a great day!


Monday, January 9, 2017

The Sweet Life

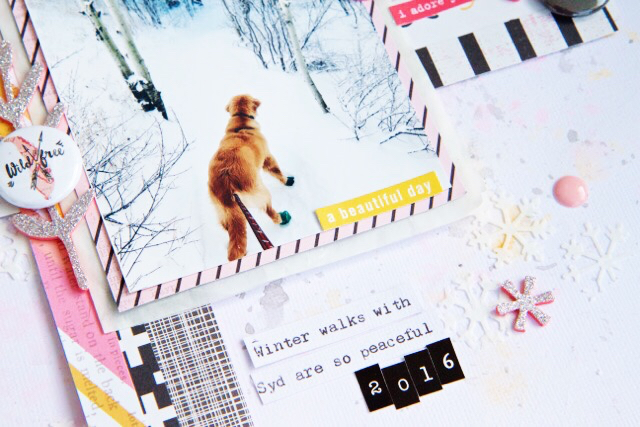
Hello friends! Today I wanted to do some stash busting so I thought I would create a layout and also join some challenges too.  This week there was some beautiful hoar frost and when I was going for my daily walks with my puppy Syd, I had to snap some photos.


I love getting messy on my layouts and so I used a stencil for the snowflakes and some molding paste and then I added some watercolor paints in grey, pink and yellow using the packaging technique.


It was awesome to do some stash busting for this layout.  I used some older papers from Pink Paislee, some alphas, washi tape and bows from Bella Blvd. and some flair buttons from A Flair For Buttons.


For the journaling I typed it on white card stock with my Typecast Typewriter.


I entered the challenges and the January Take 5 Tuesday at Paper Issues and also Stuck?Sketches January 1, 2017 Sketch.

It was fun to create this layout just for the fun of it.  

Thanks for stopping by!