Tuesday, June 20, 2017

Summer Nails Layout And Tutorial

Hello friends! Today I am sharing another layout that I created with the June Sketch at My Creative Sketches.


This was created with the awesome June Creative Kit for My Creative Scrapbook.


 I thought I would share a written tutorial with full instructions on how I created this layout. Flamingos are trendy for summer and last year, I got my nails and toes done with painted flamingos at my local nail salon. Summer is to be celebrated. Don't you think?


Instructions For Summer Nails Layout

Basic Supplies

White Cardstock (12X12 piece)
Black Fine Line Pen
Foam Adhesive Squares
Liquid Adhesive (for adhering sequins)
Scotch ATG or any brand of permanent tape runner adhesive
Circle Cutter (or a 6 1/2 inch diameter dinner plate)
Scissors (for fussy cutting)
Pencil (for tracing circle)
Paper Trimmer


June Creative Kit Supplies

Blue Wave Patterned Paper - Pebbles Sunshiny Days Collection
Flip Flop Patterned Paper - Pebbles Sunshiny Days Collection
Cardstock Stickers (flowers, flip flops, flamingos (2), sun - Pebbles Sunshiny Days Collection
Chipboard Stickers (pineapple, flower, "summer" word - Pebbles Sunshiny Days Collection
Ephemera - Pebbles Sunshiny Days Collection
Sequins - Darice
White Chipboard Alpha Stickers - American Crafts


Instructions
  • Trace a 6 1/2 inch circle on the blue wave paper using either a circle cutter, or a 6 1/2 inch diameter dinner plate. Cut it out with scissors if applicable.
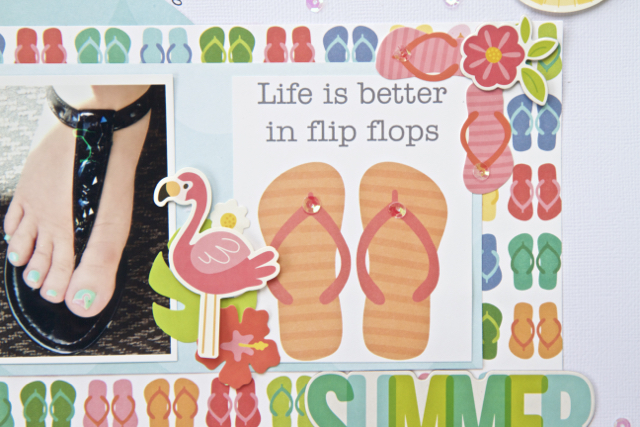
  • Cut "Life Is Better With Flip Flops" down to same height as the two photos (approximately 3 1/2 inches high by 5 1/2 inches wide)
  • Adhere photos and "Life Is Better With Flip Flops" card to blue wave paper as shown.
  • Cut Flip Flop patterned paper 9 inches long by 5 1/2 inches wide.
  • Adhere blue wave paper that is matted with photos to flip flop paper. Make sure that one inch on the right side is showing.
  • Adhere the cut blue wave paper circle to the white cardstock background. Make sure the blue circle is 1/2 inch from left edge of white cardstock and 1/4 inch from top left edge of white cardstock.
  • Adhere the flip flop paper and blue wave paper that is matted with the two photos onto the blue circle. 
  • Cut the word "My" from the blue card. Adhere.
  • Place the white chipboard alphas "nails" below the "summer" chipboard word and adhere with liquid glue.
  • Using foam dots, adhere the sun sticker on top right hand corner of white cardstock approximately 1/4 inch from top right edge and 1/4 inch from right edge.
  • Add pink flip flop stickers to edge of "Life Is Better In Flip Flops" card as shown. Add small pink chipboard flower sticker on top of pink flip flop stickers as shown.
  • Place green leaf sticker, red flower sticker and small white flower sticker in between right photo and "Life Is Better In Flip Flops" card layering stickers as shown.
  • Add the flamingo sticker on top of the layered flower stickers popping up with a foam square.
  • On bottom left hand corner of left photo, adhere the orange flip flop stickers as shown. Add the large pink flower sticker that is popped up with a foam dot on top of the orange flip flop stickers as shown. Add small blue flower sticker behind large pink flower sticker.
  • Using a foam square, pop up large pink flower sticker and adhere to top left hand corner of left photo.
  • On bottom left corner, layer the white flower, pink flower and green leaf stickers and pop them up with small foam squares. Adhere the orange flower chipboard sticker and the pineapple chipboard sticker as shown.
  • Adhere blue flip flop sticker to left of "nails" word.
  • Adhere the orange flower sticker, blue flip flop, fussy cut pink flower and small blue flower sticker layering them as shown.
  • Journal around top of blue paper circle with a black fine line pen.
  • Add sequins, as shown, around the entire layout on the centers of some of the flowers and flip flop stickers sticking them down with a tiny dab of liquid glue.
  • The layout is now complete. 
Here are some more closeups of the layout:


I hope you enjoyed my tutorial and will give this layout a try.

Thanks for stopping by and have a lovely day!


Saturday, June 17, 2017

Fun In The Sun

Happy Saturday! Today I thought I would share another layout that I created with the June Creative Kit at My Creative Scrapbook.  

I always thought grid layouts were a great way to add lots of embellishments and use up scraps of paper. That is what I wanted to achieve with this layout. Sometimes I like to add a black cardstock background to make the colors pop. 


Each square block of paper can be embellished like a tiny layout. I like to cluster my stickers and diecuts and add some sequins for extra sparkle. The patterned papers and embellishments are from Pebbles new Sunshiny Days Collection.


Check out the June Creative Kit. It's so fun!

Thanks for stopping by and I hope you have a great weekend!

Friday, June 16, 2017

A New Chapter

Hello friends! Today I am sharing a personal layout over at Just Nick Digital Cut Files.


Sadly, this is my last layout for Just Nick. I had so much fun in my two year run on the team. I have been blessed to be a part of the design team since it's inception. Nicole is amazing to work for and I consider her my friend. She is so sweet and kind.

It's time for a new chapter and my layout today is documenting just that. I applied for college last January and I was accepted into the Hospital Unit Clerk Certificate program for this Fall. I'm not going to lie, I am really excited, yet a bit nervous.

I have been a stay at home mother for the past eighteen years with my third child, my youngest son, who is graduating from high school this year. Before that, I was a stay at home mom for my only daughter and oldest son, whom are now both married. When they were little, I worked part time, but always kept up my computer skills and took courses along the way.

Here are a few more closeups of my layout:


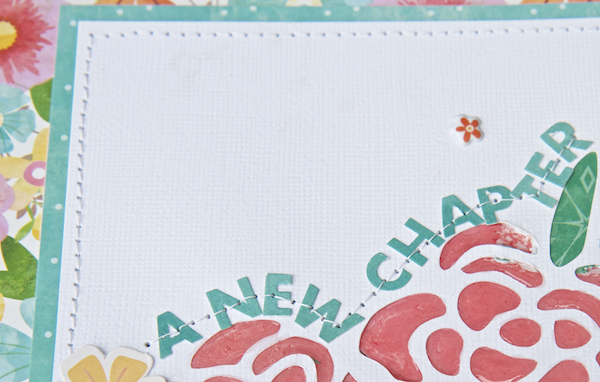
I used the Beautiful Bouquet cut file from Just Nick and cut it out on white cardstock with my Silhouette Cameo. One of my favorite things to do with cut files is to back the design with patterned papers. For this layout, I added some papers from the Jillibean Soup's Bowl Of Dreams Collection to the leaves and flowers and also the outside edge of the layout.

To add dimension to the flowers, I added some Glossy Accents to the pink flowers. I think this gives the flowers more shine and dimension. The diecuts, puffy flower stickers and stickers are also from Jillibean Soup's Bowl Of Dreams Collection.

I also added a flair button from A Flair For Buttons and some computer generated journaling.

Thanks for stopping by and I hope you have a great day!


Saturday, June 10, 2017

Cool By The Pool

Hello friends! Today I wanted to share another layout that I created for My Creative Scrapbook with the fabulous June Creative Kit.


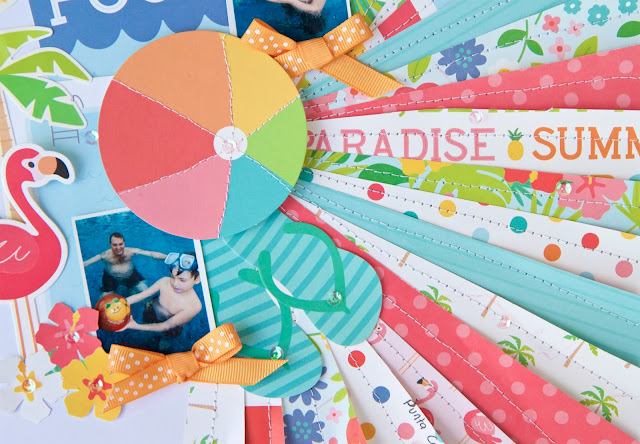
For this layout,  I was inspired by a layout created by Paige Evans using lots and lots of paper strips. It's a great way to use up paper scraps from the kit. 


To give the layout more interest, I machine stitched the paper strips down instead of gluing them.  I also machine stitched around the beach ball die cut to give it more definition.


I added two 2X3 photos and added some fussy cut flowers, clustered some of the ephemera from the kit and yellow ribbon that I tied in bows.  


The sequins from the kit gives the layout more sparkle and interest.


Finally I added the location and date with a fine line black pen on one of the paper strips.


The paper strips look like sun rays don't you think?

Check out all the kits, including the June Creative Kit at My Creative Scrapbook.

Thanks for stopping by and have a nice day.

Thursday, June 8, 2017

Syd At 8 Weeks Old

Hello friends! Happy Thursday! I am honored that I was asked to contribute a layout for the June Page Maps along with a few design team members at Just Nick Digital Cut Files. If you are not familiar with Page Maps, it is a free sketch blog, by Becky Fleck, that has been around since 2006. Her free sketches for scrapbook layouts and cards are amazing and they can be seen here and also here at Scrapbook And Cards Today Magazine. 

Today I am excited to share this layout of my puppy Syd when he was 8 weeks old. He is technically still a puppy even though he just turned one years old about two weeks ago and now weighs a whopping 70 pounds.


Creating pet layouts is pure fun for me. My fur babies are dear to my heart and I love the Puppy Love Collection of papers and die cuts by Doodlebug Designs. 


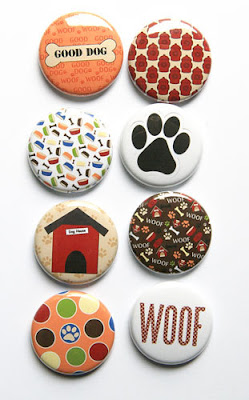
I also added some the brown puppy flair button from the Good Dog Flair Set  and also the paw flair button from Cute Kitty Flair Set at A Flair For Buttons on my layout. Flair gives it the finishing touch. Don't you think?

Good Dog Flair Set

Cute Kitty Flair Set


It's always nice when I can put lots and lots of photos on a layout and Becky's sketches help me do just that. Here is the sketch that I was assigned


For my title "Syd" I used the Outline Alphas cut file from Just Nick, cut it out on white card stock with my Silhouette Cameo, and backed it with some patterned papers and added some mini alpha stickers as well to complete my title.


I also added some machine stitching with red thread to add some interest.


I hope you enjoyed your visit and I want to thank you for stopping by my blog. Have a great day!


Today Layout

Hello friends! Are you ready for summer? I know I sure am because the summers are so short and the winters are so long where I live. I wanted to celebrate summer so I thought today I would share more of a mixed media layout. I created this summery layout for A Flair For Buttons.


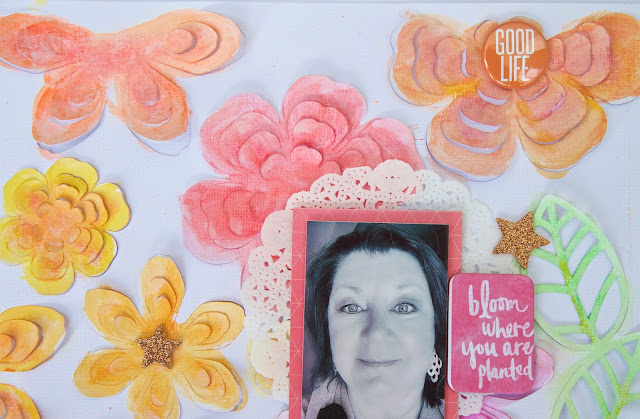
I added the pink "Live" flair button from the Inspirational Words set


and the orange "Good Life" flair button from the My Life Flair Set 4 set to the middle of two of my flowers.


To create the 3 dimensional flower background, I found a beautiful cut file designed by the talented Bea Valint and cut it on a 12X12 inch piece of white textured cardstock with my Silhouette Cameo.

After it was cut out, I took my Faber Castell Gelatos and scribbled the lipstick type tubes of creamy goodness onto my craft mat and spritzed some water on each color and with a fairly thin paint brush, I carefully painted the petals and leaves.

Once the petals and flowers were dry, I added a darker shade of color to the inside of the pedals and once again let them dry. To make them even more dimensional, I bent each petal upwards to make them pop out even more.

I also added another piece of white cardstock to the backside so that the bent petals wouldn't show through to whatever surface was behind it.

Next I added a 2X3 black and white photo that I popped up with dimensional foam squares and matted on some pink paper from the Pink Paislee Moonstruck Collection and I also added a small paper doily behind the matted photo to soften the photo and separate the background more from the photo. I didn't want to have too many embellishments to this layout because I wanted the floral watercolor background to be the focal point of the layout so I added some gold foam stars, enamel hearts, chipboard stickers and the black foam phrase "Today" for my title. I quite often like to add a pop of black to my designs because I think it completes the layout.


I am very happy how this layout turned out. These colors speak to me and flowers are one of my favorite things.

Thanks for stopping by and be sure and check out all the flair buttons in the A Flair For Buttons shop. Have an awesome day!

Flair Buttons On This Layout

Inspirational Words


My Life Flair Set 4