Hello friends! Today I wanted to share a tutorial on how I created this layout with the February Creative Kit for
My Creative Scrapbook.
Basic Supplies
Adhesive (liquid, tape runner and scotch tape)
Card stock (white)
Embroidery Floss (I used light pink, medium pink, and red)
Embroidery Needle
Foam Pad
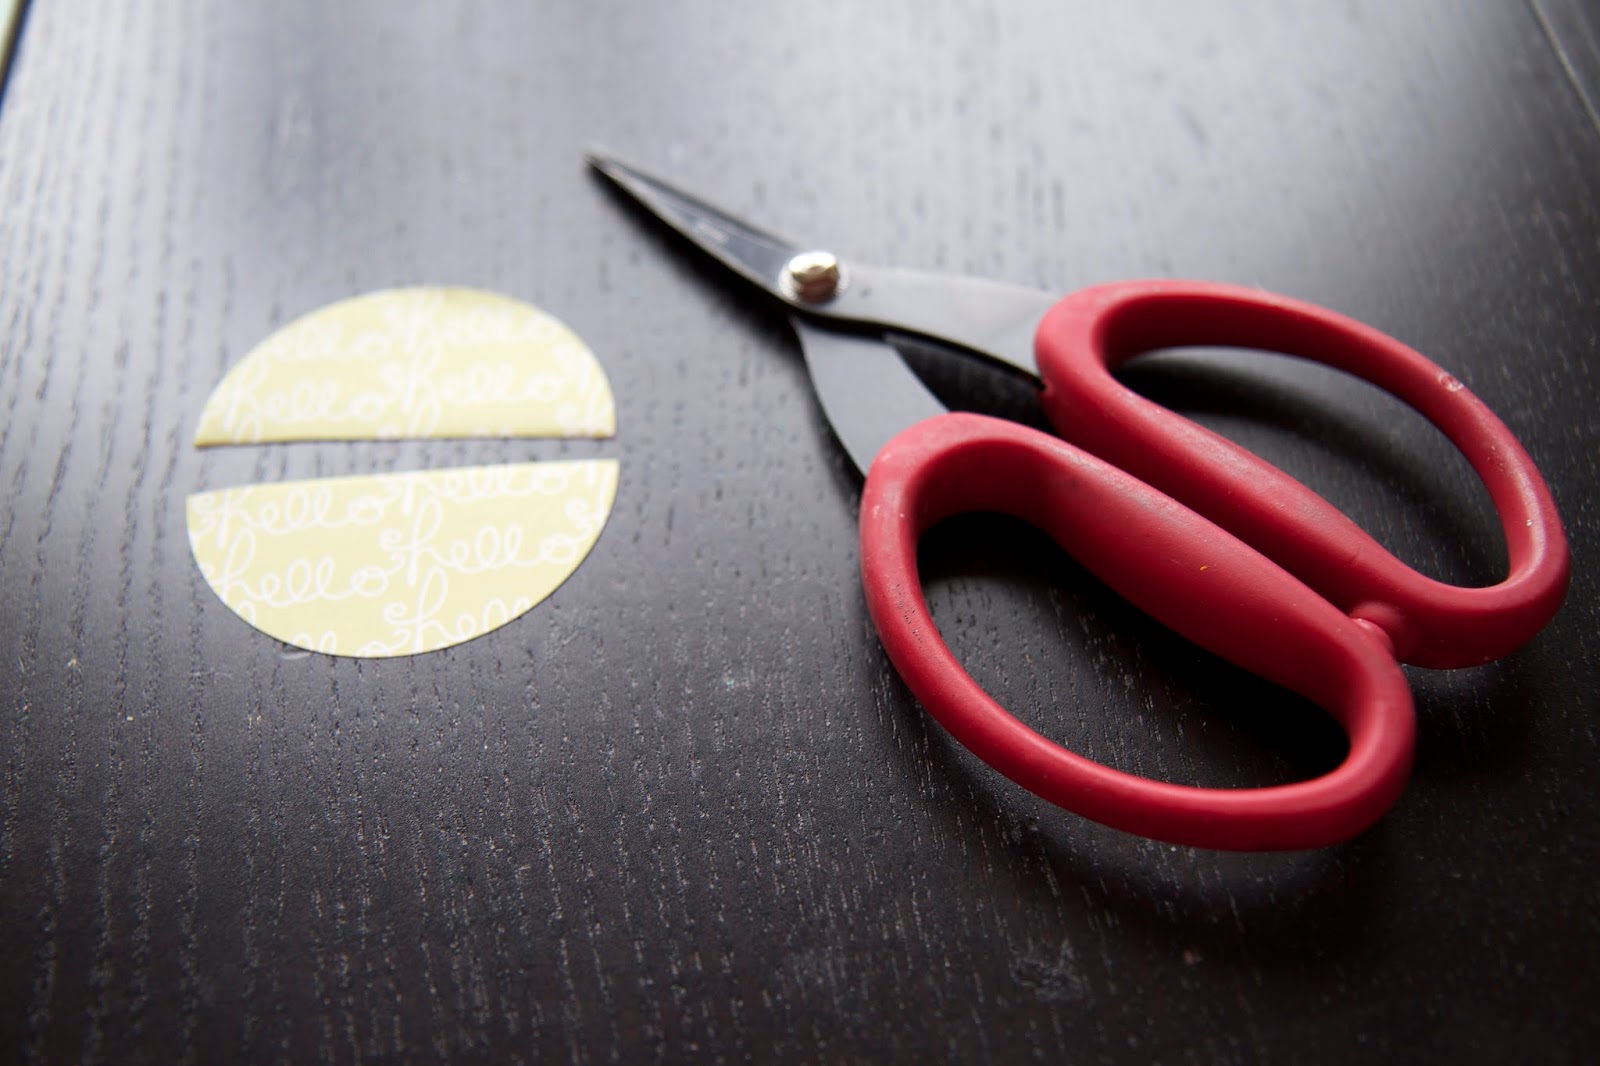
Scissors
Paper Piercer
Paper Punches (heart shaped punches in 3 different sizes - small, medium, large)
Paper Trimmer
Pencil
Ruler
Kit Supplies (from the February Creative Kit)
Ephemera (love word)
Foam black alphas
Patterned Paper (XO paper, small heart paper, red and white dotted paper)
Ribbon (red and white stitch)
Sequins (5 pink)
Stickers (Be Mine heart sticker, heart balloon, three hearts, xo border strip)
Wood pieces (5 hearts, two arrows)
Instructions
Begin with a 12 X 12 inch piece of white card stock.
Cut the XO patterned paper so it measures 7 inches by 12 inches. Adhere to the bottom of
the white card stock.

Adhere the xo sticker strip above the XO patterned paper and to the left and right edge of the white card stock.


Mat photo with red and pink patterned paper.
Add heart balloon sticker to the bottom left of photo

and the three heart sticker to the bottom right of the photo.
Cut the red ribbon approximately seven inches so that it will tuck behind the photo. Adhere.
Center the photo and adhere it to the background.
Using a ruler, add the word "sibling" to ruler and center it to the photo. When it is centred,
,place the alphas down over the photo and red ribbon.
With the letters L O V E from the ephemera pack, tuck them underneath the black foam alphas adhering them down with a dab of liquid adhesive being sure to center the letters.

With a pencil and a ruler, draw vertical lines on the top edge of the white cardstock at 1 inch, 3 inch, 6 inch, 9 inch and 11 inch.


With the paper piercer and the foam pad, pierce holes about 1/4 inch apart on the vertical lines.

With the embroidery floss, select three strands and thread the embroidery needle. With a backstitch, sew though the pierced holes. Beginning from the left edge, I sewed mine in red, medium pink, light pink, and red. Secure the cut threads on the backside with some scotch tape.
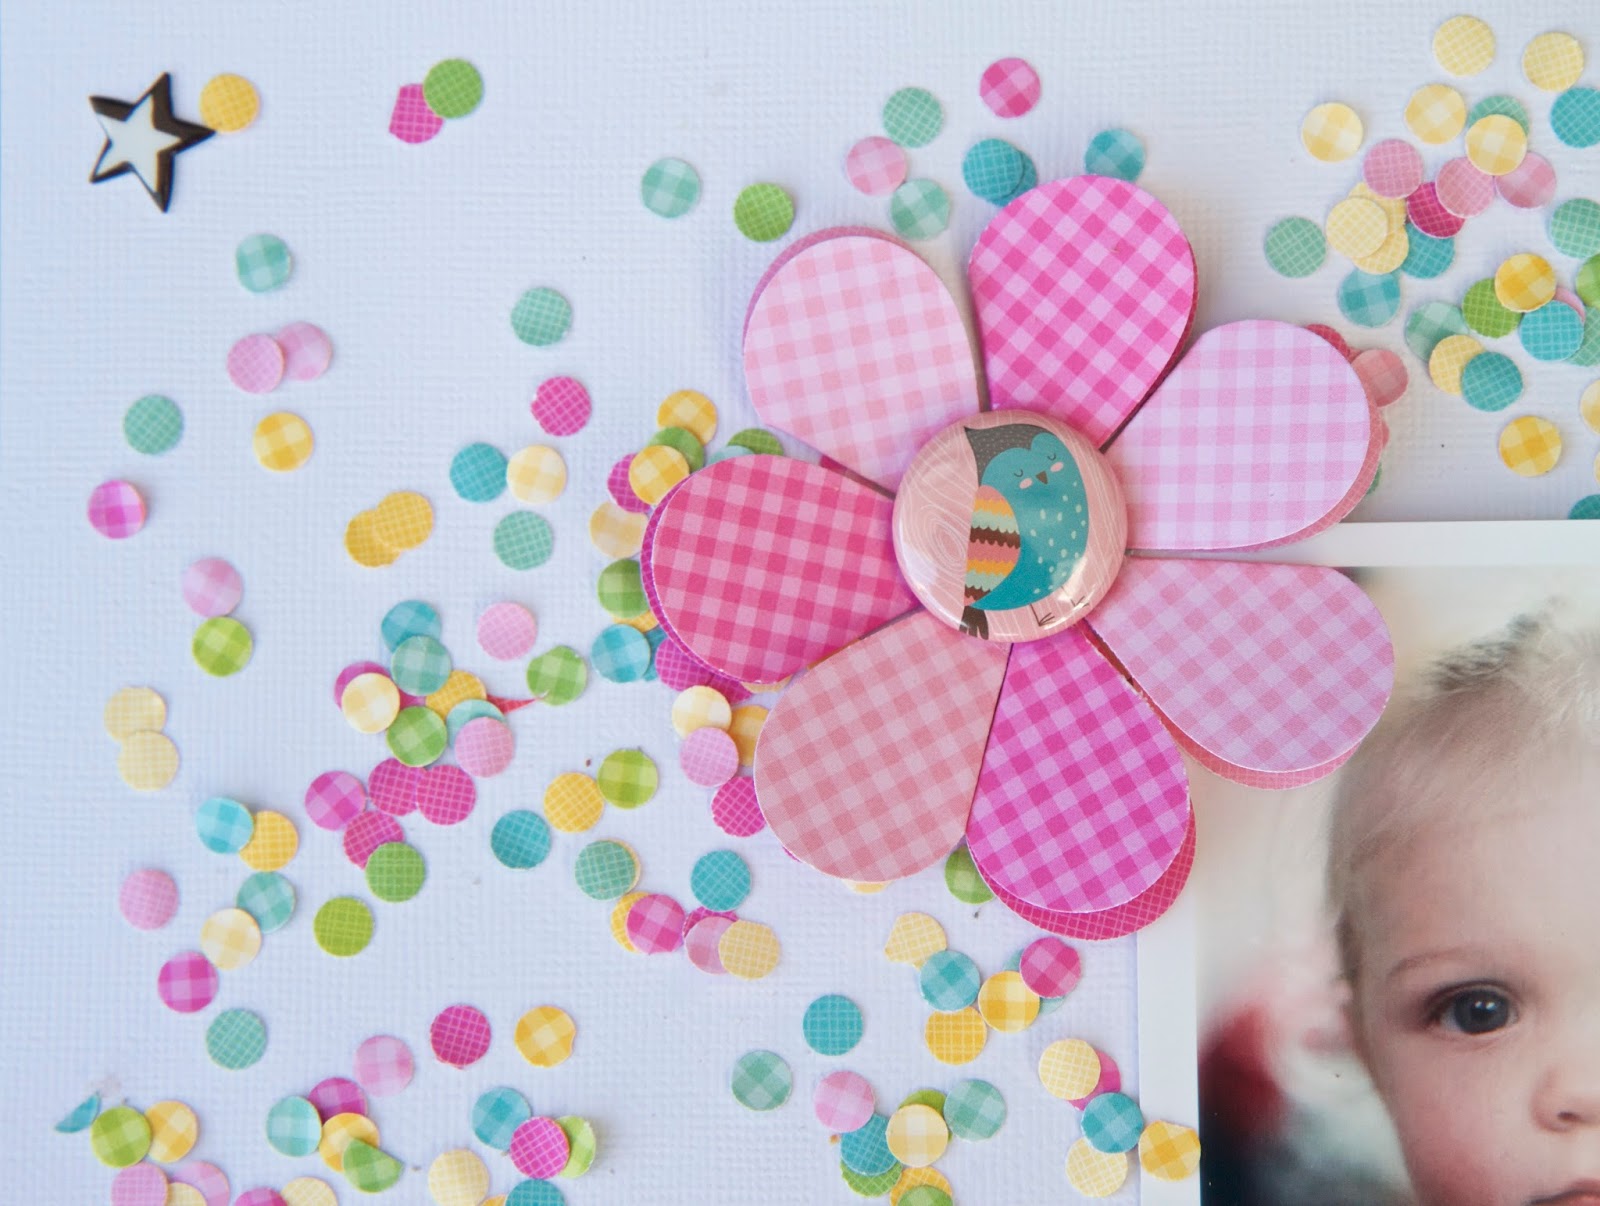
Punch the heart paper with two sizes of heart paper punches. I punched four large hearts and four small hearts.


With a tape runner adhesive, add some adhesive to the large punched hearts and stack the smaller punched hearts on top and fold the small paper hearts in half to give more dimension.
Adhere the punched dimensional hearts to the layout as shown on top of the hand stitching.
Punch the red patterned paper with the small heart paper punch. Adhere them on top of the hand stitching as shown.
Adhere the wood hearts with liquid adhesive on top of the hand stitching.
Adhere the pink sequins with a tiny dab of liquid adhesive and adhere to the hand stitching.
Adhere one wood arrow to the left of the photo with a dab of liquid adhesive.
Adhere another wood arrow to the right of the photo with a dab of liquid adhesive.
Add the "Be Mine" heart sticker to the photo as shown.
The layout is now complete.
I hope you enjoyed my tutorial and try hand stitching. Machine stitching would also be perfectly fine. It adds a homemade feel to the layout.


